

Hello friends!!! Wow, it’s been a while since I blogged. My apologies for staying away for so long. Life has kept me busy lately. For the past few months I've been busy renovating and re-modelling my home.
Honestly, the last few months have been really tiring. Although the renovation was a lot of work, there was something exciting about seeing everything come to life. It really is true how even a small change can really transform a space. I am very much happy about my transformed abode.
....OK...so once I got my home done, it was time to think about the decor. I love changing things around.... and the first thing I wanted to change were my Cushion Covers. Oh yes ....they had totally worn out. So I sat about browsing Pinterest and Google for Cushion cover designs. I love handmade things, so buying a Cushion Cover from a shop was totally out of my mind. Why to buy one when you can easily make one yourself...right!!!
Crocheting a cushion cover is a very simple project. Here I am sharing the Double Crochet Cushion Cover I recently made.This basic Double Crochet Cushion Cover pattern is the easiest ever!! This is an awesome project for crocheters of any level!!! All you need to know are a basic Chain Stitches and Double Crochets – that’s it.
Materials Used:-
- Feather Yarn
- 4mm Crochet Hook
- Wooden Buttons
- Yarn Needle
I have used Feather Yarn for this project. I love using this yarn. They are soft and give texture and volume to any project.

Start with a slip knot.
Chain 125.
You can easily alter the size of your cushion cover by altering the starting chain stitches.Make the chain stitches and measure it out on your cushion before continuing. Increase or Decrease the chain stitches accordingly.

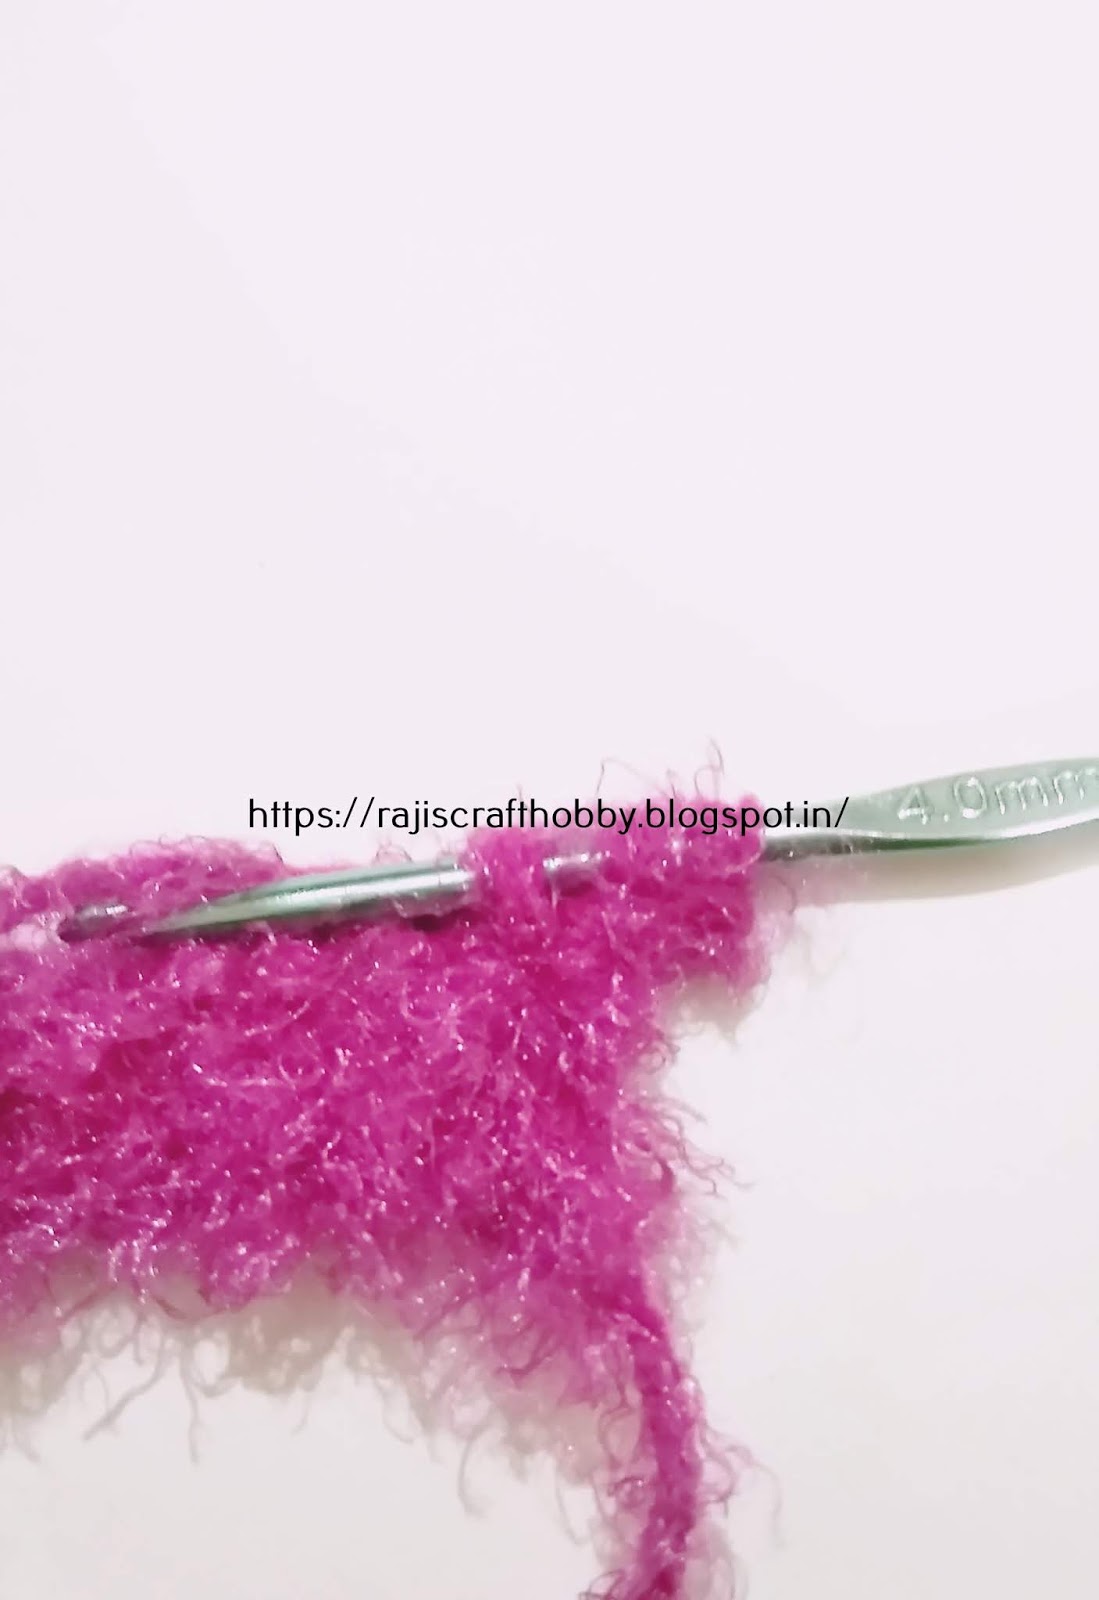
One Double Crochet in the second chain from the hook.

Continue with one Double Crochet in each stitch all along the remaining stitches.
Work up untill the last stitch.

Having a Straight edge is always very pleasing. Lets check out this easy way of having a Straight edged project which I saw on Pinterest.
Once you reach end, Chain 2.


Insert the hook into the 1st chain you've made.
Yarn over and pull up a loop.You should have 2 loops on the hook.

Turn your project and insert the hook into the first stitch.(the first Double Crochet)

Yarn over and pull up a loop.You will have 3 loops on the hook.
Again, yarn over and pull through 2 loops.You will have 2 loops on the hook.
Lastly, yarn over and pull through 2 loops.
Now, continue with the Double Crochet stitches all along.

Try this simple alteration and believe me you will end up a nice straight edged project.
Continue with Double Crochet stitches untill you reach the size of your cushion.

Once you reach the size needed, the next round will be the button hole round.
Firstly, mark your spaces for the buttons using stitch markers.

Chain 1, turn your project and continue with single crochet in each stitch.
For the button hole, do chain stitches according to the size of the button and continue with single crochet in the rest of the stitches.
Chain 1 and turn.
Do one more round of single crochet in each stitch. Make 2 single crochet in the Button Hole spaces.
This would make the button hole sturdier.
This would make the button hole sturdier.
I have made 5 button holes.


Sew in the buttons with a yarn needle.


Fold the piece so that you have space for the Cushion flaps.
Now joins the ends with Single Crochet.


Weave in the loose ends.

You can use it the way it is or you can sew in flower appliques.
Check out these step by step Flower Tutorials.


There you go!!!! Aren't they easy to make!!!Make them in various colors or you can also make them in alternate color combinations.


.png)


I love that fluffy yarn! It would look great on a cozy winter sweater too.
ReplyDeleteThank you for sharing the tutorial at The Really Crafty Link Party. Pinned.
thank u :)
DeleteWow what a great colour, and it looks lovely and soft too. Thanks for joining Ginx Woolly Linx Party.
ReplyDeleteThank you 😊😊😊
Delete