Crochet this Door Organizer to hang from a door, Wall or in the closet for extra storage. This is definitely an attractive way to keep essentials easily at hand.
This project is very easy and quick to make and is very much flexible and can be easily adjusted according to your needs. You can adjust size of the pockets to make them wider and deeper. If needed, make it little bigger by adding additional pockets.
Materials Used:-
- 8 Ply Acrylic Yarn
- 4 mm Crochet Hook
- Yarn Needle
- Buttons
I was planning on to make this as a wall organizer, but somewhere in middle of the project I just reminded myself that,I did want something to put in my Mobile phone while I kept it on charge.So decided to make this as a door organizer. Now I use this for my mobile and charger.
So, as already mentioned, this is a very flexible project you can make. Before starting just be sure to measure it out according to your needs.
Then start with foundation chain stitches.
Here I've made 100 chain stitches
Double crochet in each of the following stitches.
Work up untill the last stitch.
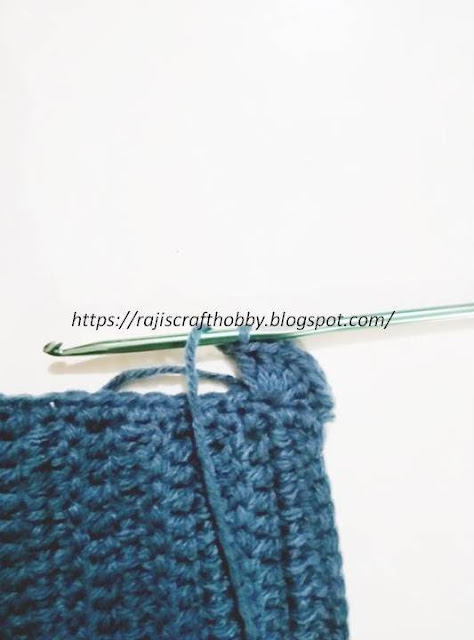
Now the big Question....... how to keep straight edges while working rounds and rounds of double crochet stitches.
One of the most important things with crochet is to count your stitches at the end of every row. Whether you are a beginner or an expert, believe me counting your stitches is always advisable. Nothing is more frustrating than having to rip out hours and hours of work, just because it doesn't have a straight edge.
Keeping straight edges in crochet is easier than you think. There are different methods to achieving nice and uniform edges. I've checked and pondered on many of the methods available on internet.
Out of all, I loved the Chainless Starting Double Crochet method by TAMARA KELLY at Moogly Blog. The tutorial has both video as well as the photo details.
Continue working double crochet stitches all around using the Chainless Starting Double Crochet untill you reach the length you intend to make.
Once the desired length is reached, fold your work to check the measurement of the pockets and sew in the buttons at the top using yarn needle.
Shell stitch is a terrific choice for any crochet project.I love and have used shell stitch edging for many of my crochet projects.Here too I've used shell stitch edging.
Start with single crochet,
*Skip the next stitch,
7 Double crochet in the next stitch,
skip the next stitch,
Single Crochet*
Repeat from *to*.
Make 7 Single crochet in each stitch at the top of your project.
Chain 1 and turn.
Make around 7 to 8 rounds of single crochets.
For making the button hole, make 2 single crochet, chain 3, or chain according to the size of your button you are using, then continue with single crochets.
Repeat the same 2 more times.
Fold your project and sew the ends together to make pockets. I made 2 pockets by sewing right in the center of the organizer.
You can you slip stitches as well to join it together.
Weave in the ends.
Use a hanger to hang it on the door.


Cute! I need a few of these in my closets.
ReplyDeleteThank you for sharing at The Really Crafty Link Party this week. Pinned.
thanku ☺ ....glad u liked !!
DeleteA clever idea, these kind of hanging pockets are so useful for so many things.
ReplyDelete