
The Classic Granny Stitch never goes out of style. It is one of the most versatile stitch used for many Crochet Projects like Pillows , Clothing accessories , Scares , Tablemats , Placemats and Crocheted Blankets. This stitch is a favorite among most of the Experienced and Beginner Crocheters .
Today am sharing the pattern for a Easiest and Simple Granny Stripe Crochet Blanket. Granny stripe blankets are among my favorite to make. They are awesomely super quick and easy to make. They are great for gift giving.
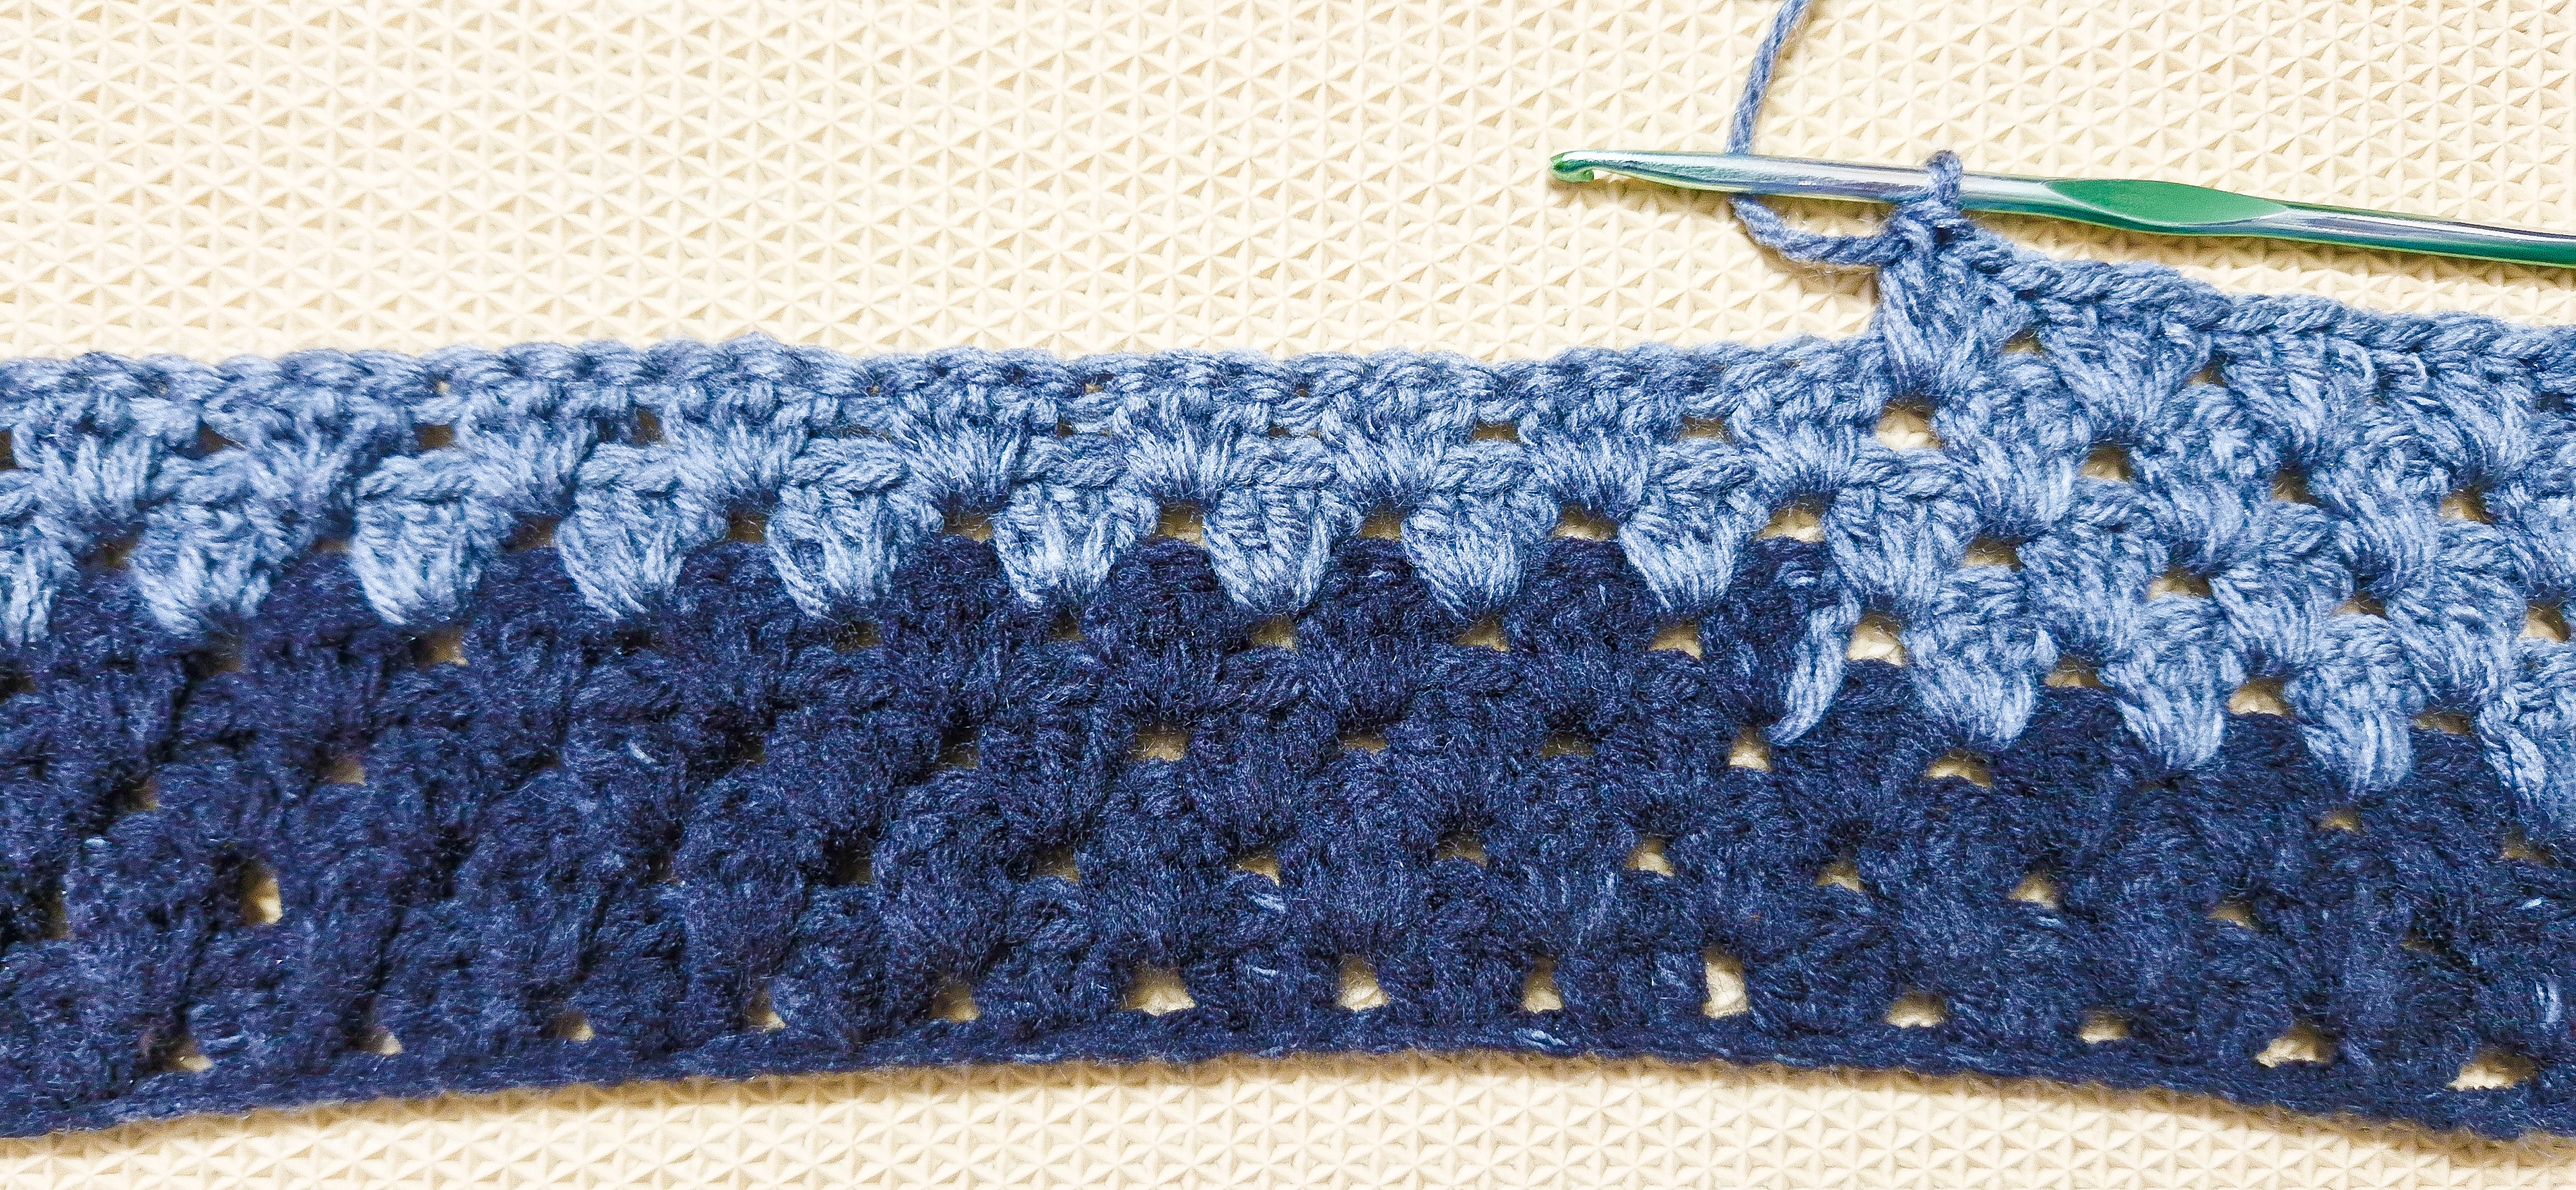
The Granny Stitch is one of the most easiest stitch made with just Double Crochets worked in Clusters. Its a fun to do stitch and works up really quick. Usually the Granny Stitch in worked in rounds. The Granny Stripe stitch is worked horizontally in rows.
The Stitches are made only in between the Double Crochet Clusters. This gives a lovely finish to the stitch. You can use a solid color yarn for the blanket, but self stripping Cake Yarns and Variegated yarns are the best for the Granny Stripe Blanket.
Materials Used:-
8 Ply Cake Yarn
4 mm Crochet Hook
4 mm Crochet Hook
Size:-
38 inches- Customizable to any size
Crochet Terms Used:-
US Crochet Terms
Abbreviations Used:-
Ch - Chain
DC - Double Crochet
Sk - Skip
St/Sts - Stitch/Stitches
YO - Yarn Over
Here is the Video Tutorial:-
You can follow along with this tutorial video. Please be sure to subscribe too!
PIN it and Save for Later:-
Let's Start...!!!
Round 1:-
Start with a Slip Knot.
Chain 99 + 1 Chain extra for the turning Chain.
You can adjust the size by altering these stitches according to your requirement.
Start with any multiple of 3 + 1 Chain extra for the turning Chain.


Round 2:-
1 Double Crochet in the 4th Chain from the hook.
Skip 2 stitches.
3 Double Crochets.
Skip 2.
Repeat(3DC,Sk2)
2 Double Crochets in the last stitch.
Once you reach end, Chain 2 and use the Straight Edge Turning Chain to make the turning chain.
Straight Edge Turning Chain:-
Usually you would Chain 2, turn and start working the next round. Here is a quick tip to have a nice straight edge .
- Insert the hook into the 1st chain from the bottom.
- Yarn over and pull up a loop. You should have 2 loops on the hook.
- Turn your project and insert the hook into the first stitch.
- Yarn over and pull up a loop. You will have 3 loops on the hook.
- Again, yarn over and pull through 2 loops. You will have 2 loops on the hook.
- Lastly, yarn over and pull through 2 loops.
- This will make one Double Crochet.


Round 3:-
**This Round Onwards We Will Be Working Only Into the Spaces In Between the Bunch of Double Crochets from the Previous Round.
1 Double Crochet is already made while making the turning chain.
3 Double Crochets into each of the spaces in between the bunch of Double Crochets from the previous round.
1 Double Crochet in the last stitch.
Once you reach end, Chain 2 and use the Straight Edge Turning Chain mentioned in the previous round to make the turning chain.


Round 4:-
1 Double Crochet is already made while making the turning chain.
1 Double Crochet into the same stitch(that's total 2 Double Crochets made)
3 Double Crochets into each of the spaces in between the bunch of Double Crochets from the previous round.
2 Double Crochet in the last stitch.
Once you reach end, Chain 2 and use the Straight Edge Turning Chain to make the turning chain.


Round 5:-
1 Double Crochet is already made while making the turning chain.
3 Double Crochets into each of the spaces in between the bunch of Double Crochets from the previous round.
1 Double Crochet in the last stitch.
Once you reach end, Chain 2 and use the Straight Edge Turning Chain to make the turning chain.


Round 6 Onwards:-
Keep Repeating Round 4 & Round 5 untill the size needed and weave off.


Here is the Summary of the Pattern:-
Round 1:-
Start with a Slip Knot.
Ch 99 + 1 Ch extra for the turning Ch.
You can adjust the size by altering these Sts according to your requirement.
Start with any multiple of 3+1 Ch extra for the turning Ch.
Round 2:-
1DC in the 4th Ch from the hook.
Sk2 Sts.
3DCs.
Sk2.
Repeat(3DC,Sk2)
2DCs in the last St.
Once you reach end, Ch2 and use the Straight Edge Turning Ch to make the turning Ch.
Straight Edge Turning Ch:-
Usually you would Ch2, turn and start working the next round. Here is a quick tip to have a nice straight edge .
Insert the hook into the 1st Ch from the bottom.
YO and pull up a loop. You should have 2 loops on the hook.
Turn your project and insert the hook into the first St.
YO and pull up a loop. You will have 3 loops on the hook.
Again, YO and pull through 2 loops. You will have 2 loops on the hook.
Lastly, YO and pull through 2 loops.
This will make one DC.
Round 3:-
**This Round Onwards We Will Be Working Only Into the Spaces In Between the Bunch of DCs from the Previous Round.
1DC is already made while making the turning Ch.
3DCs into each of the spaces in between the bunch of DCs from the previous round.
1DC in the last St.
Once you reach end, Ch2 and use the Straight Edge Turning Ch mentioned in the previous round to make the turning Ch.
Round 4:-
1DC is already made while making the turning Ch.
1DC into the same St(that's total 2DCs made)
3DCs into each of the spaces in between the bunch of DCs from the previous round.
2DC in the last St.
Once you reach end, Ch2 and use the Straight Edge Turning Ch to make the turning Ch.
Round 5:-
1DC is already made while making the turning Ch.
3DCs into each of the spaces in between the bunch of DCs from the previous round.
1DC in the last St.
Once you reach end, Ch2 and use the Straight Edge Turning Ch to make the turning Ch.
Round 6 Onwards:-
Keep Repeating Round 4 & Round 5 untill the size needed and weave off.
*********


No comments:
Post a Comment
Thank you for taking time to stop by. I would love if you leave some inspiring comments about the post. To avoid spam , your comment will be verified and posted in sometime. Thank you!!!