

Making your own candles is always a rewarding process. Whether you’re making them for decor or aroma, it’s satisfying to know that the pretty glow in the room is your own doing.
Here am sharing how to make Decorative Gel Candles.Making these beautiful candles, is exciting and not at all difficult and you can add in a variety of things to make them match your decor.These gel candles have become one of the most popular candles available due to the way they look.
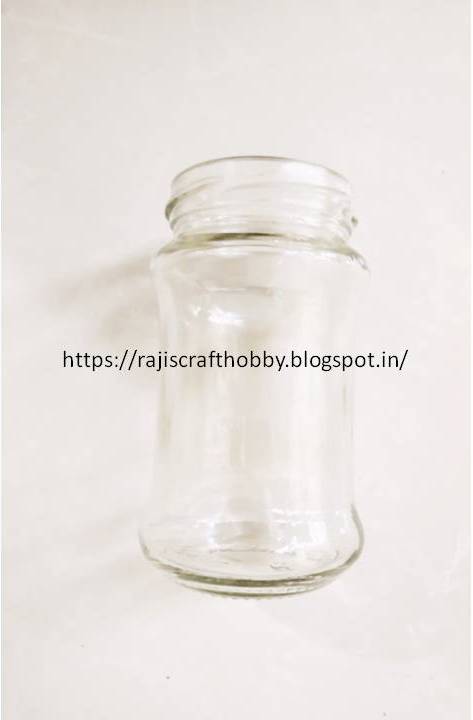
Start by getting your supplies ready.One of the first things you should consider is a suitable container for your candles. The best container for a gel candle is glass, so people can see the decorative objects you put inside the candle.Here I have used mason jars but you are free to use any glass, wine glass, or a glass bowl or a vase.
For decorative objects you can use anything which is non-flammable.....glitter, colored sand, artificial jewels or pearls,sea shells, pebbles, crystals, polished stones....just about anything that will add charm to your candle.
Here, I have used Colored sand and Glitter powder.
Materials Used:-
Materials Used:-
- Mason Jar
- Tooth Pick
- Colored Sand
- Glitter Powder
- Candle Wick
- Gel Wax
- 2 containers
Start by cleaning the mason jar and dry it with a clean cloth.

Next get your decorative objects ready.These are Colored sand and glitter powder.


Use different shades of colored sand to create a layered look for the candle.With a help of spoon carefully put one shade after the other to get the layered look.


In the other jar, put in the glitter powder. I have used mix of Gold and Red color glitter powder.
Take an approximate amount of gel wax to fill your glass jar.


I simply love the texture of these Gel Wax. After heating and using it you don’t have to worry about the left over liquid warm gel wax getting wasted. Once solidified , these can be easily restored and can be used again.

Start by melting the wax by using double boiler method.Take two containers. One for pouring water and the other for melting the wax.Pour water in the bottom pan,and put the wax pieces in another container and put it on bottom pan.Start heating.Keep your burner on the lowest temperature so that it doesn't burn up your wax.


At this point, you can personalize your candle by adding fragrance. Just make sure that the fragrance you choose is made for use in gel candles. If it isn’t, there is a good chance that it will not blend with the wax properly.

Once melted ,slowly pour the gel into the glass jar, making sure you don’t move the glass jar.
Stability helps reduce the formation of bubbles. You can move it once the gel sets completely.

Wait for couple of seconds and carefully insert the wicks.


Use tooth picks to secure the wicks in place.


Allow them to cool down.

Light up your handmade candles and feel proud of your creation when the light brightens up your room.


.png)
.png)


I've never even melted wax before but I would like to make a gel candle. You melt wax then call it gel when you pour it into the wax container. I don't understand what makes that different from a regular wax candle. Where does the gel come in? Like I said I know nothing about melting wax or making candles. Thanks.
ReplyDeletehey...thanks for stopping by!!!!
DeleteGel wax and paraffin wax are both different.
the name itself is " Gel Wax"....it is sort of transparent and rubbery.....when u melt it and use ..it remains transparent.
Paraffin wax on the other hand is white in colour...opaque....!!!....
hope this is clears your doubt.....let me know!!!!
Interesting. I think I've seen similar candles for sale, but I never really stopped to think how they were made. I had no idea gel wax even existed. Thank you for sharing the tutorial at The Really Crafty Link Party this week, these candles make lovely homemade gifts. Pinned.
ReplyDelete:)
Deletethank u!!!!!