

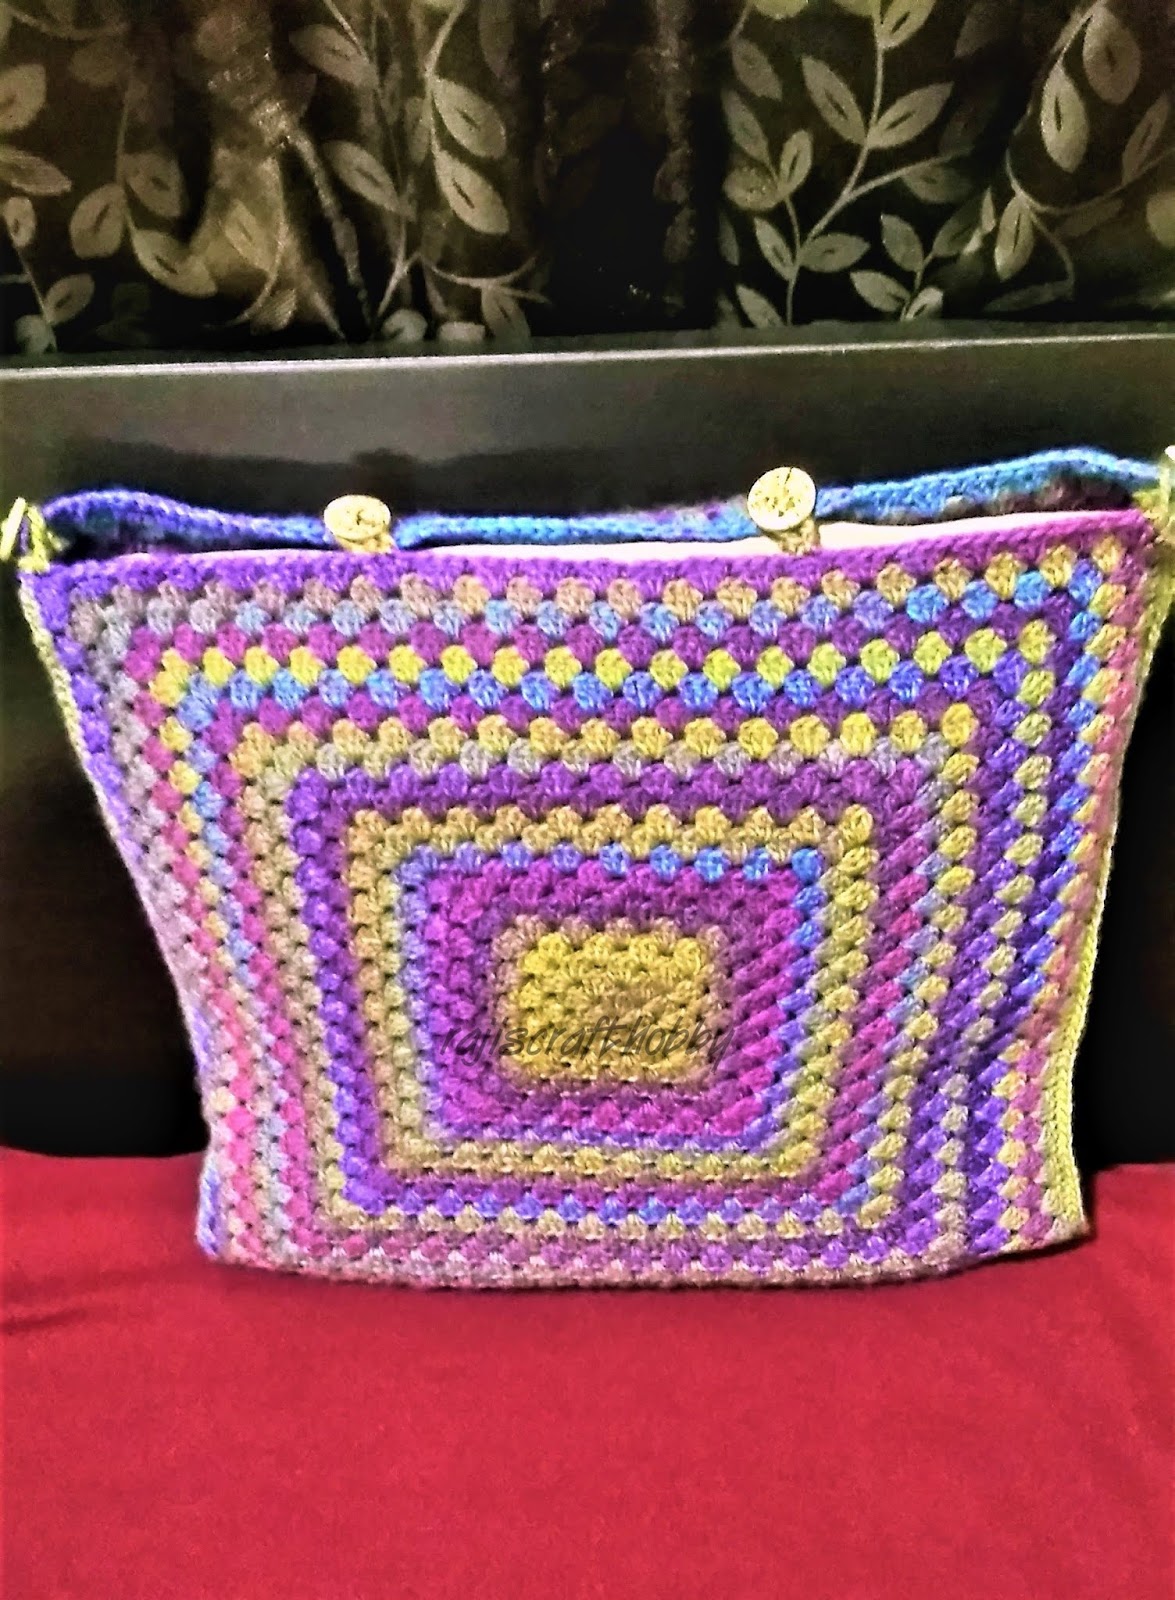
Begin your granny project making adventure by making this simple Granny Square Cushion Cover with Top Opening Buttons.
The plain granny square is probably one of the oldest and most well known crochet patterns. It's a lovely basic pattern that can be used in many ways.Here I am sharing the tutorial to make a Granny Square Cushion Cover with Top Opening Buttons.
Of course there are so many pretty and absolutely awesome Granny Square Cushion patterns over the Internet. The top opening buttons make it easier to remove the cushion easily for washing.
I have used variegated yarn but you can use multiple colors to make colorful pattern!!
- Variegated Yarn
- Crochet Hook
- Wooden Buttons
- Yarn Needle
Start with a Magic Circle.

Chain 2.(Doesn't count as a stitch.This is just to bring the yarn to a working height.)

3 Double Crochet,Chain 1.


Each of the Chain 1 space will make up the four corners of the Granny Square.
Slip stitch to join on the first Double Crochet and end the round.

Round 2:-
3 Double Crochet in the Chain 1 space from the previous round.

Chain 1 and 3 Double Crochet in the same space.


Repeat (3DC,Ch 1, 3DC) in the remaining chain 1 spaces.

Once you reach the end of this round, 3DC, Chain 1, and slip stitch on to the top of the first double crochet.

This gives you the beginning square!!!

This round and the subsequent rounds are all repetitive. You can make it as bigger as you want.
3 Double Crochet in chain 1 space.Chain 1.
3 Double Crochet in the next Chain 1 space, Chain 1.


Chain 1.


Repeat (3DC, Ch1,3DC,Ch1) in the remaining corner stitches and (3DC, Ch1) in all the remaining Chain 1 space.


Once you reach the end of the round, make 3 Double Crochet , Chain 1 and Slip Stitch to join and end the round.


Round 4 onward:-
Keep repeating Round 3 until your Granny square reaches the required size.
Just remember, you will start the round with 3DC, Chain 1(that's your first corner), and the remaining corner stitches will have (3DC, Ch1, 3DC),Chain 1 and 3DC ,Chain 1 in each sides.
With each round the number of (3DC, Ch1) on the sides will keep increasing.


Here my yarn starts changing color. I absolutely love working with variegated yarn. The anticipation of looking for the next color keeps me thrilled!!!


Keep measuring with your cushion the check the size.

Once the required size is reached, weave off and cut the yarn end.
This is your Front Side.
Now make a similar one which would make the back side of the cover.
Be sure to make both the squares of the same size!!!

Join both the squares with single crochets, keeping one side open.


Sew in your buttons on top of the open side.
I used 4 buttons.


To make the button holes, turn your work on to the back of the cushion cover.
Join your yarn and make 10 Chain Stitches.
This chain stitches may vary according to the size of the button you are using.Just measure to see if the button fits in and increase or decrease the chain stitches accordingly.
Join back with a slip stitch in to the same stitch.
That's one Button Hole done.
Make the rest of the button holes in similar way.


There you go!!!Insert you cushion and they are ready to adore you home!!!!


.png)


.png)

No comments:
Post a Comment
Thank you for taking time to stop by. I would love if you leave some inspiring comments about the post. To avoid spam , your comment will be verified and posted in sometime. Thank you!!!