

Handmade Crochet Gifts are always a adorable way to say how much you love and care. Gift giving is always enjoyable. Attach these Cute Crochet Name Tags to your gifts to make them personalized for your loved ones.
These Crochet Name Tags work out pretty quick and very much customizable to any size. I used Crochet Surface Slip stitch for the writing. Personally, I find Surface Crochet easier to make free hand writing or design on any crochet project. If you wish to write a full name, then you can easily make it bigger by increasing the starting number of chain stitches.
Materials Used:-
8 Ply Yarn
4mm Crochet Hook
Here is the Video Tutorial:-
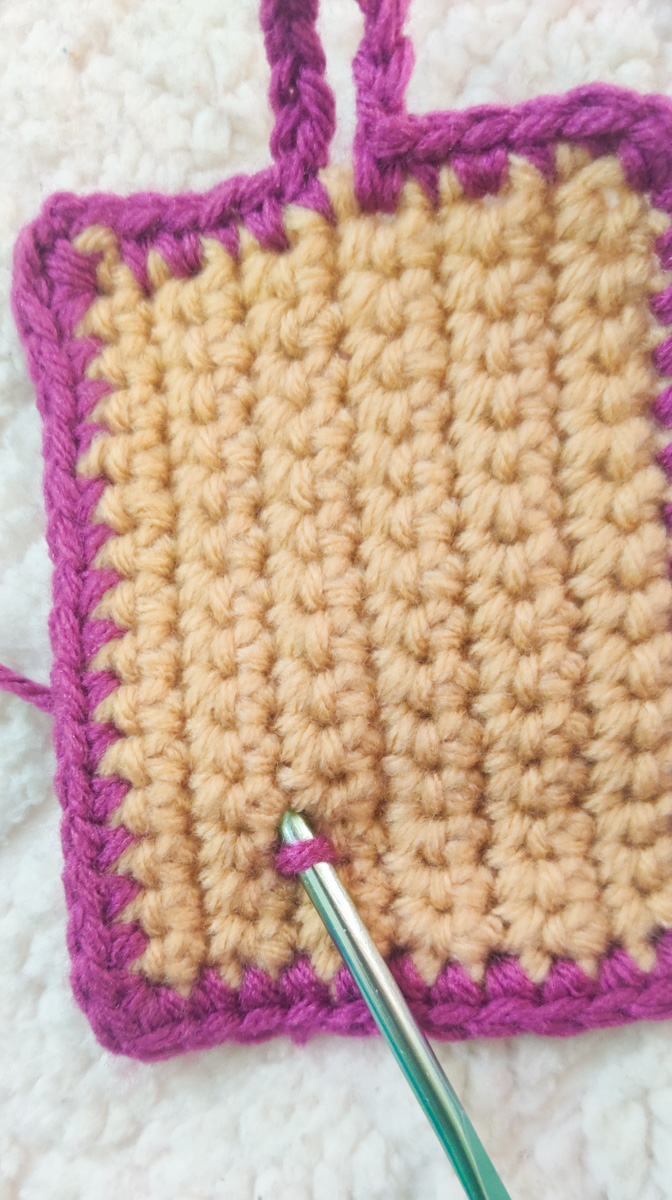
The Base:-
Start with a Slip Knot.
Chain 16.
You can change these starting number of chains according to the size which u need.


1 Single crochet in each of the remaining stitches.
Once you reach the end, Chain 1 and turn.
Repeat 1 SC in each stitch untill you reach the size needed.


At the end, of the row, Change color.
Chain 1.
3 Single Crochets in the same stitch.
1 Single Crochet each in the remaining stitches untill the next corner.
Repeat (3SC in corner, 1 SC each in every stitch).


1 Single Crochet in each stitch untill the mid point.
Chain 10, 1 Single Crochet in the same stitch.(This will make the loop).
Continue with 1 Single Crochet in of the remaining stitches.
Slip stitch on top of the first Single Crochet and weave off.


To begin, insert your hook, and pull up a loop from back of your project. Secure the yarn.
Insert the hook into the next space, yarn over and pull up a loop from back.
Repeat this and make a free hand of the alphabet.
If you find the freehand overwhelming, use a fabric chalk to lightly draw the details and then you can easily crochet over it.


Beautiful tags. Love the colours Raji.
ReplyDeleteGlad u like it....☺️ Thank you 😊
DeleteCute pattern I will definately try it
ReplyDeleteThank you ☺️
Delete