

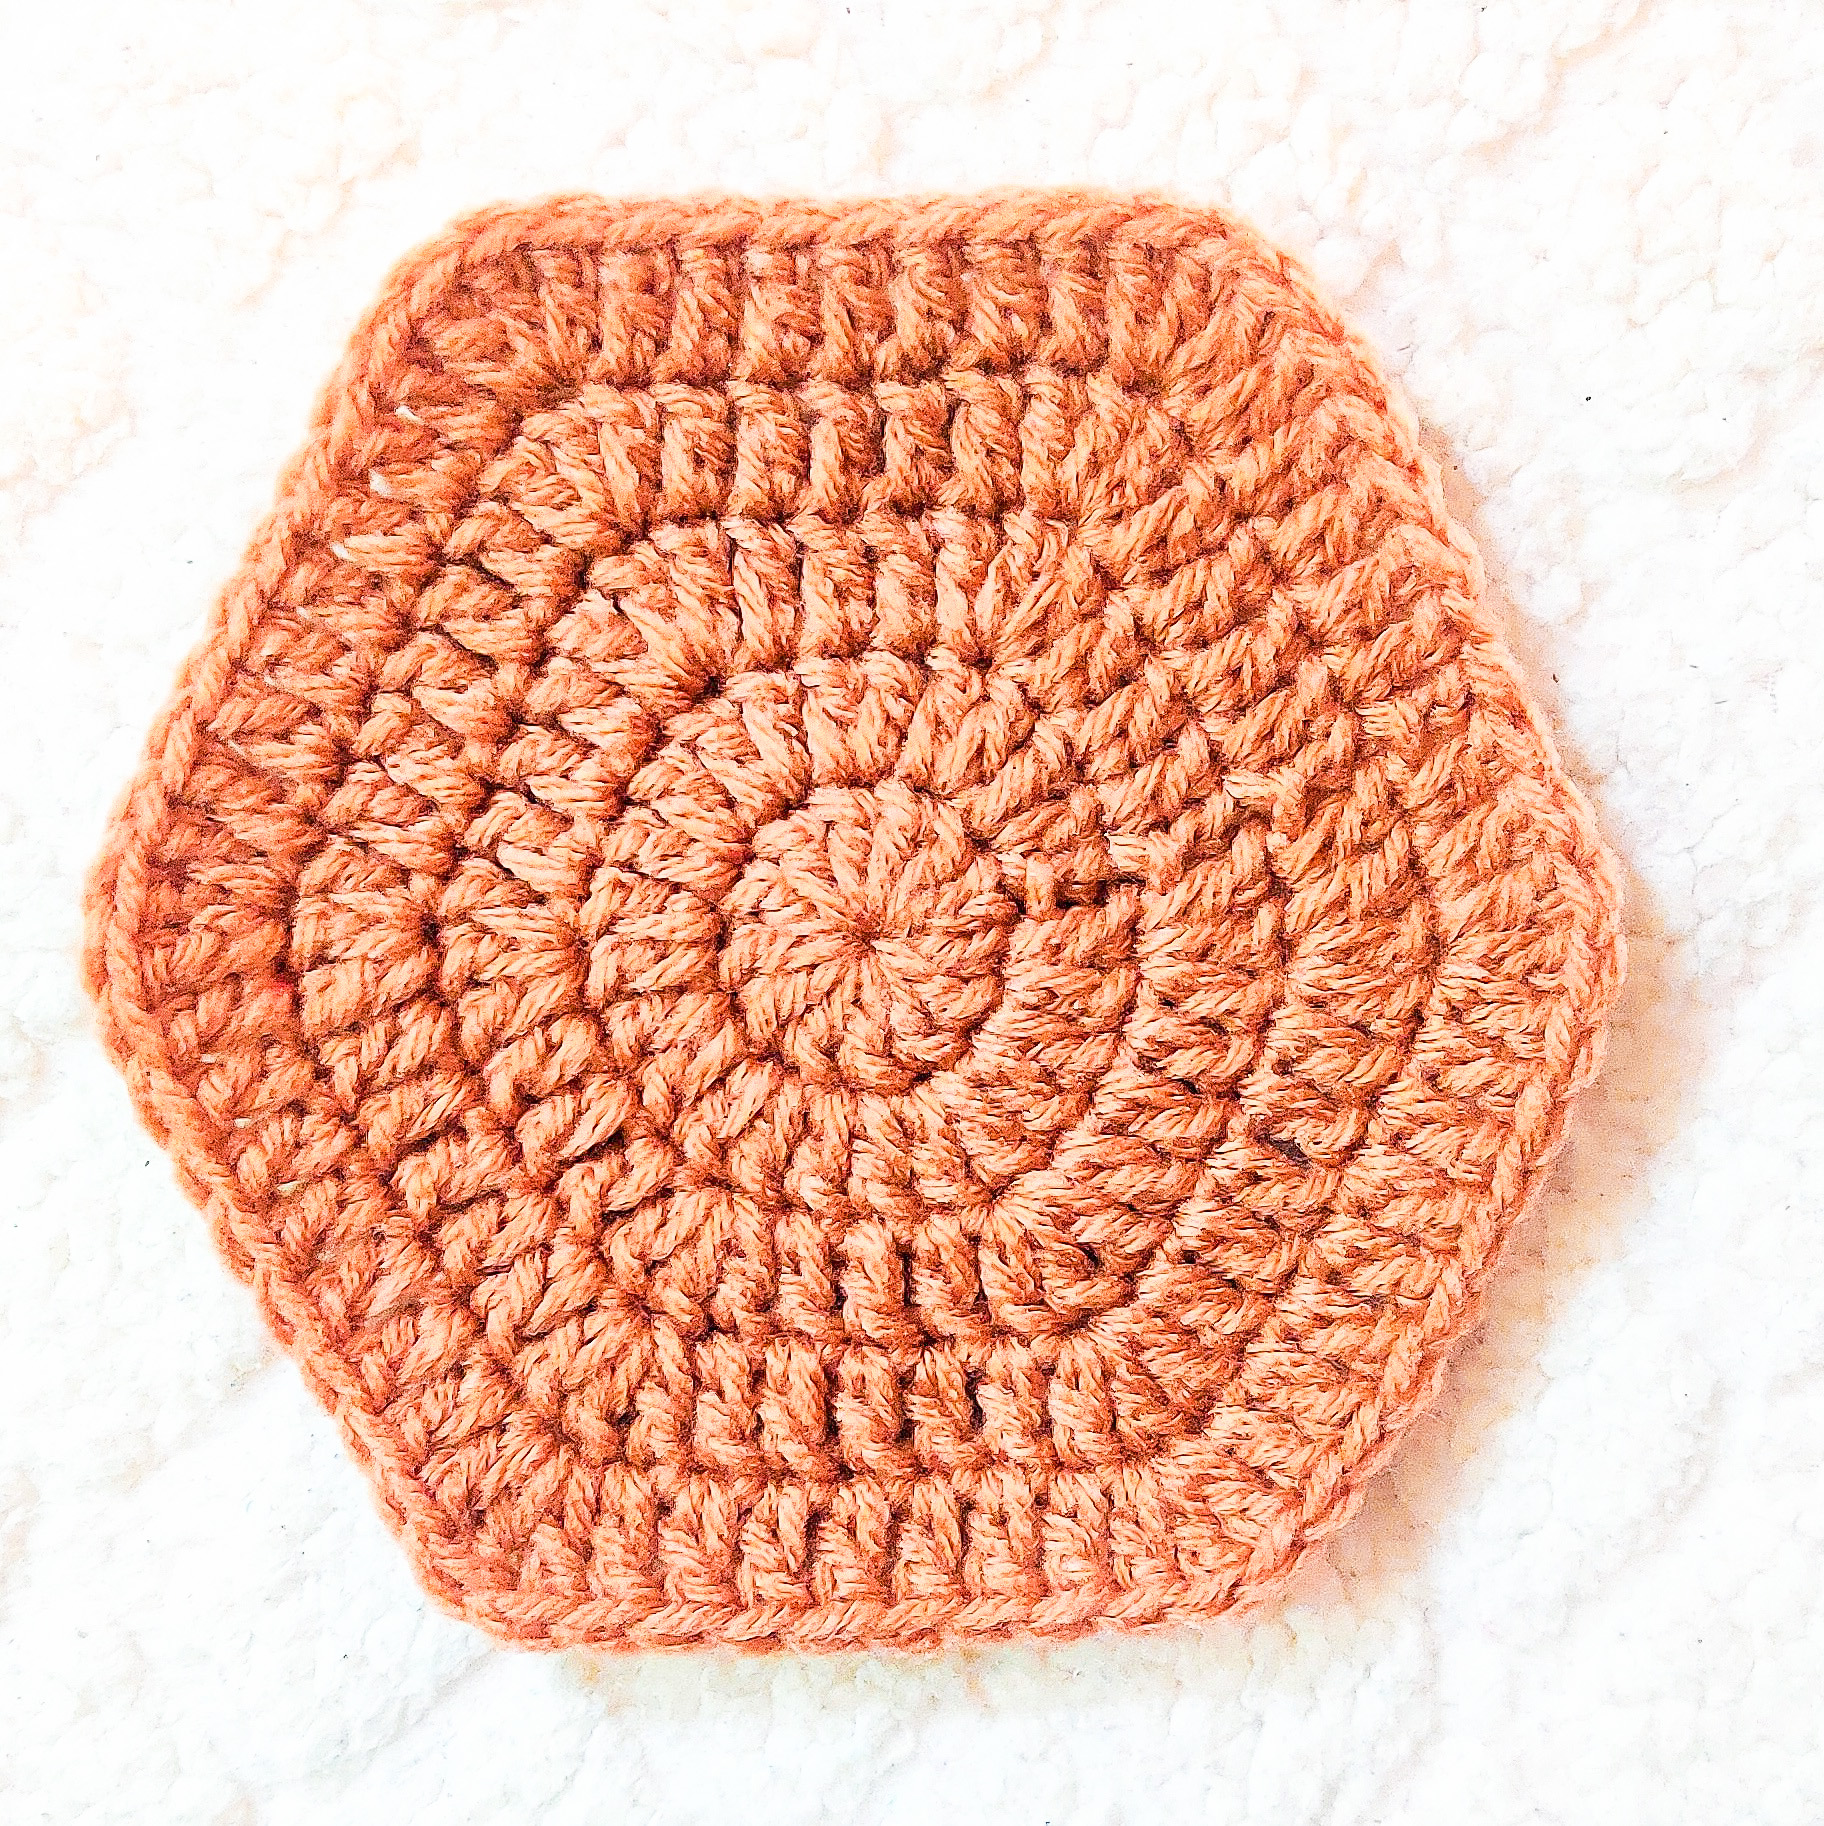
In my recent post, I had shared the pattern for Single Crochet Solid Hexagon. This was made only with Single Crochets. But when we make the same Hexagon with Double Crochets, the increase pattern changes. There are of course many variations to make these pretty hexagons. Today am sharing a simple easy and quick to make Pattern for Double Crochet solid Hexagon without gaps.
Hexagons are popular for making up pretty crochet blankets. But don't just stick to Blankets, these would also be great for many more variety of crochet projects right from a Crochet Bags, Rugs, Shawls or you can just use them as Crochet Coasters.
Materials Used:-
8 Ply Yarn
4mm Crochet Hook
Notes:-
For this whole pattern the starting Chain 2 is not counted as a stitch. It is just to bring the yarn to a working height.
Start the next stitch in the same stitch.
Here is the Video Tutorial:-
Round 1:-
Start with a Magic Circle.
12 Double Crochets in the circle.
12 Double Crochets in the circle.
Pull the yarn end to close the gap.
Slip Stitch on top of the first Double Crochet.
12 Stitches.


Chain 2.
2 Double Crochets in each stitch around.
Slip stitch on top of the first Double Crochet.
24 stitches.


Chain 2. 1 Double Crochet in the same stitch.
1 Double Crochet each in the in the next 2 stitches.
3 Double Crochets in the next stitch.
Mark the Middle stitch i.e the 2nd stitch with a stitch marker.
This is the stitch where we will be making the increase in the next round.
Repeat*(1DC*3, 3DC).
Slip Stitch on top of the first Double Crochet.
36 Stitches.


Chain 2. 1 Double Crochet in the same stitch.
1 Double Crochet each in the in the next stitches untill you reach the marked stitch from the previous round..
3 Double Crochets in the marked stitch.
Repeat*(1DC in each stitch untill the next marked stitch, 3DC in the marked stitch).
You will have 1 Stitch left after the last corner.
1 Double Crochet in that stitch.
Slip Stitch on top of the first Double Crochet.
48 Stitches.


Keep repeating Round 4 untill you reach the size needed.
Remember to:-
Start with Chain 2.
Start the next stitch in the same stitch.
1 Double Crochet each in the in the next stitches untill you reach the marked stitch from the previous round..
3 Double Crochets in the marked stitch.
Repeat*(1DC in each stitch untill the next marked stitch, 3DC in the marked stitch).
The stitches after the last corner will keep increasing by 1 with each round.
1 Double Crochet in each of those stitches too.
Slip Stitch on top of the first Double Crochet.


Here is the Summary of the Pattern:-
Round 1:-
Start with a Magic Circle.
12 DC in the circle.
Pull the yarn end to close the gap.
SL on top of the first DC.
12 Stitches.
Round 2:-
CH 2.
2 DC in each stitch around.
SL on top of the first DC.
24 stitches.
Round 3:-
CH 2. 1 DC in the same stitch.
1 DC each in the in the next 2 stitches.
3 DC in the next stitch.
Mark the Middle stitch i.e the 2nd stitch with a stitch marker.
This is the stitch where we will be making the increase in the next round.
Repeat*(1DC*3, 3DC).
SL on top of the first DC.
36 Stitches.
Round 4:-
CH 2. 1 DC in the same stitch.
1 DC each in the in the next stitches untill you reach the marked stitch from the previous round..
3 DC in the marked stitch.
Repeat*(1DC in each stitch untill the next marked stitch, 3DC in the marked stitch).
You will have 1 Stitch left after the last corner.
1 DC in that stitch.
SL on top of the first DC.
48 Stitches.
Round 5 Onwards:-
Keep repeating Round 4 untill you reach the size needed.
Remember to:-
Start with CH 2.
Start the next stitch in the same stitch.
1 DC each in the in the next stitches untill you reach the marked stitch from the previous round..
3 DC in the marked stitch.
Repeat*(1DC in each stitch untill the next marked stitch, 3DC in the marked stitch).
The stitches after the last corner will keep increasing by 1 with each round.
1 DC in each of those stitches too.
SL on top of the first DC.
********


Thank you! Thank you!!! You are AWESOME!!!!!! You explain it so I can understand it and the instruction are wonderful. Your knowledge I envy. :)
ReplyDeleteThank you 😊😊🥰
DeleteThank you so very much!! I love the way you explain it. You are AWESOME!!!
ReplyDeleteThank you 😊😊🥰
DeleteYours is the 5th hexagon pattern that I've tried; I seem to make simple errors that need frogging when I think I've finished. But with you're pattern, explanation & visuals, I have finally executed a perfect hexagon.
ReplyDeleteYey for me, and yeh for you.
Yayyyy....so happy for u 😊🥰....thank you so much 😊
DeleteHow would you adapt this to a half hexagon pattern?
ReplyDeleteThank you so much for checking out the pattern 😊.....here is the pattern for Half Hexagon.....hope this helps...😊
Deletehttps://rajiscrafthobby.blogspot.com/2022/03/how-do-you-crochet-half-solid-hexagon.html