
_edited.jpg)
Crochet is known to be so soothing and has been proven to relieve stress. There is nothing better than sitting with a cup of hot coffee and crocheting your favorite crochet project. Crochet blankets are always a popular choice among crocheters , be a beginner or a experienced Crocheter. The crocheted blankets are so versatile. You can combine multiple crochet stitches and make a pretty textured crochet blanket. You can easily make them as small as you want, or as large as you want.
Today am sharing the pattern for this Crochet Easy Shell Stitch Blanket. I just love the texture of this stitch. This pattern is very simple to work up. This stitch is made up of double crochets and single crochets worked up in a pattern. The Crochet shell stitch looks complicated, but its just a repeat of two rows and you end up with a beautiful crochet blanket.
I have used variegated yarn for the blanket. I love how the color changes and you don't have to weave off the yarn ends in case of using different color yarn at end of every row. You can use this easy Crochet shell stitch pattern to also make a Placemat Tablemat or a full sized crochet afghan blanket or a crochet throw.
Materials Used:-
8 Ply Cotton Variegated Yarn
4 mm Crochet Hook
Size:-
30 inches- Customizable to any size
Here is the Video Tutorial:-
You can follow along with this tutorial video. Please be sure to subscribe too!
PIN it and Save for Later:-
Let's Start...!!!
Round 1 :-
Start with a Slip Knot.
Chain 96 + 1 Chain for the turning chain.
This measures around 30 inches.
You can adjust the size of the blanket by altering these stitches according to your requirement.
Start with a multiple of 6 + 1 Chain extra for the turning chain.


Round 2 :-
1 Double Crochet in the Second Chain from the hook.
1 Double Crochet each in the remaining stitches.
1 Double Crochet each in the remaining stitches.
Once you reach end, Chain 1 and turn.


Round 3 :-
1 Single Crochet in the first stitch.
Skip 2 stitches.
5 Double Crochets in the next stitch.(this would make the shell stitch)
Skip 2 Stitches.
1 Single Crochet in the next stitch.
Repeat(Skip 2, 5 DC, Skip 2, 1 SC)
Once you reach end, Chain 2.
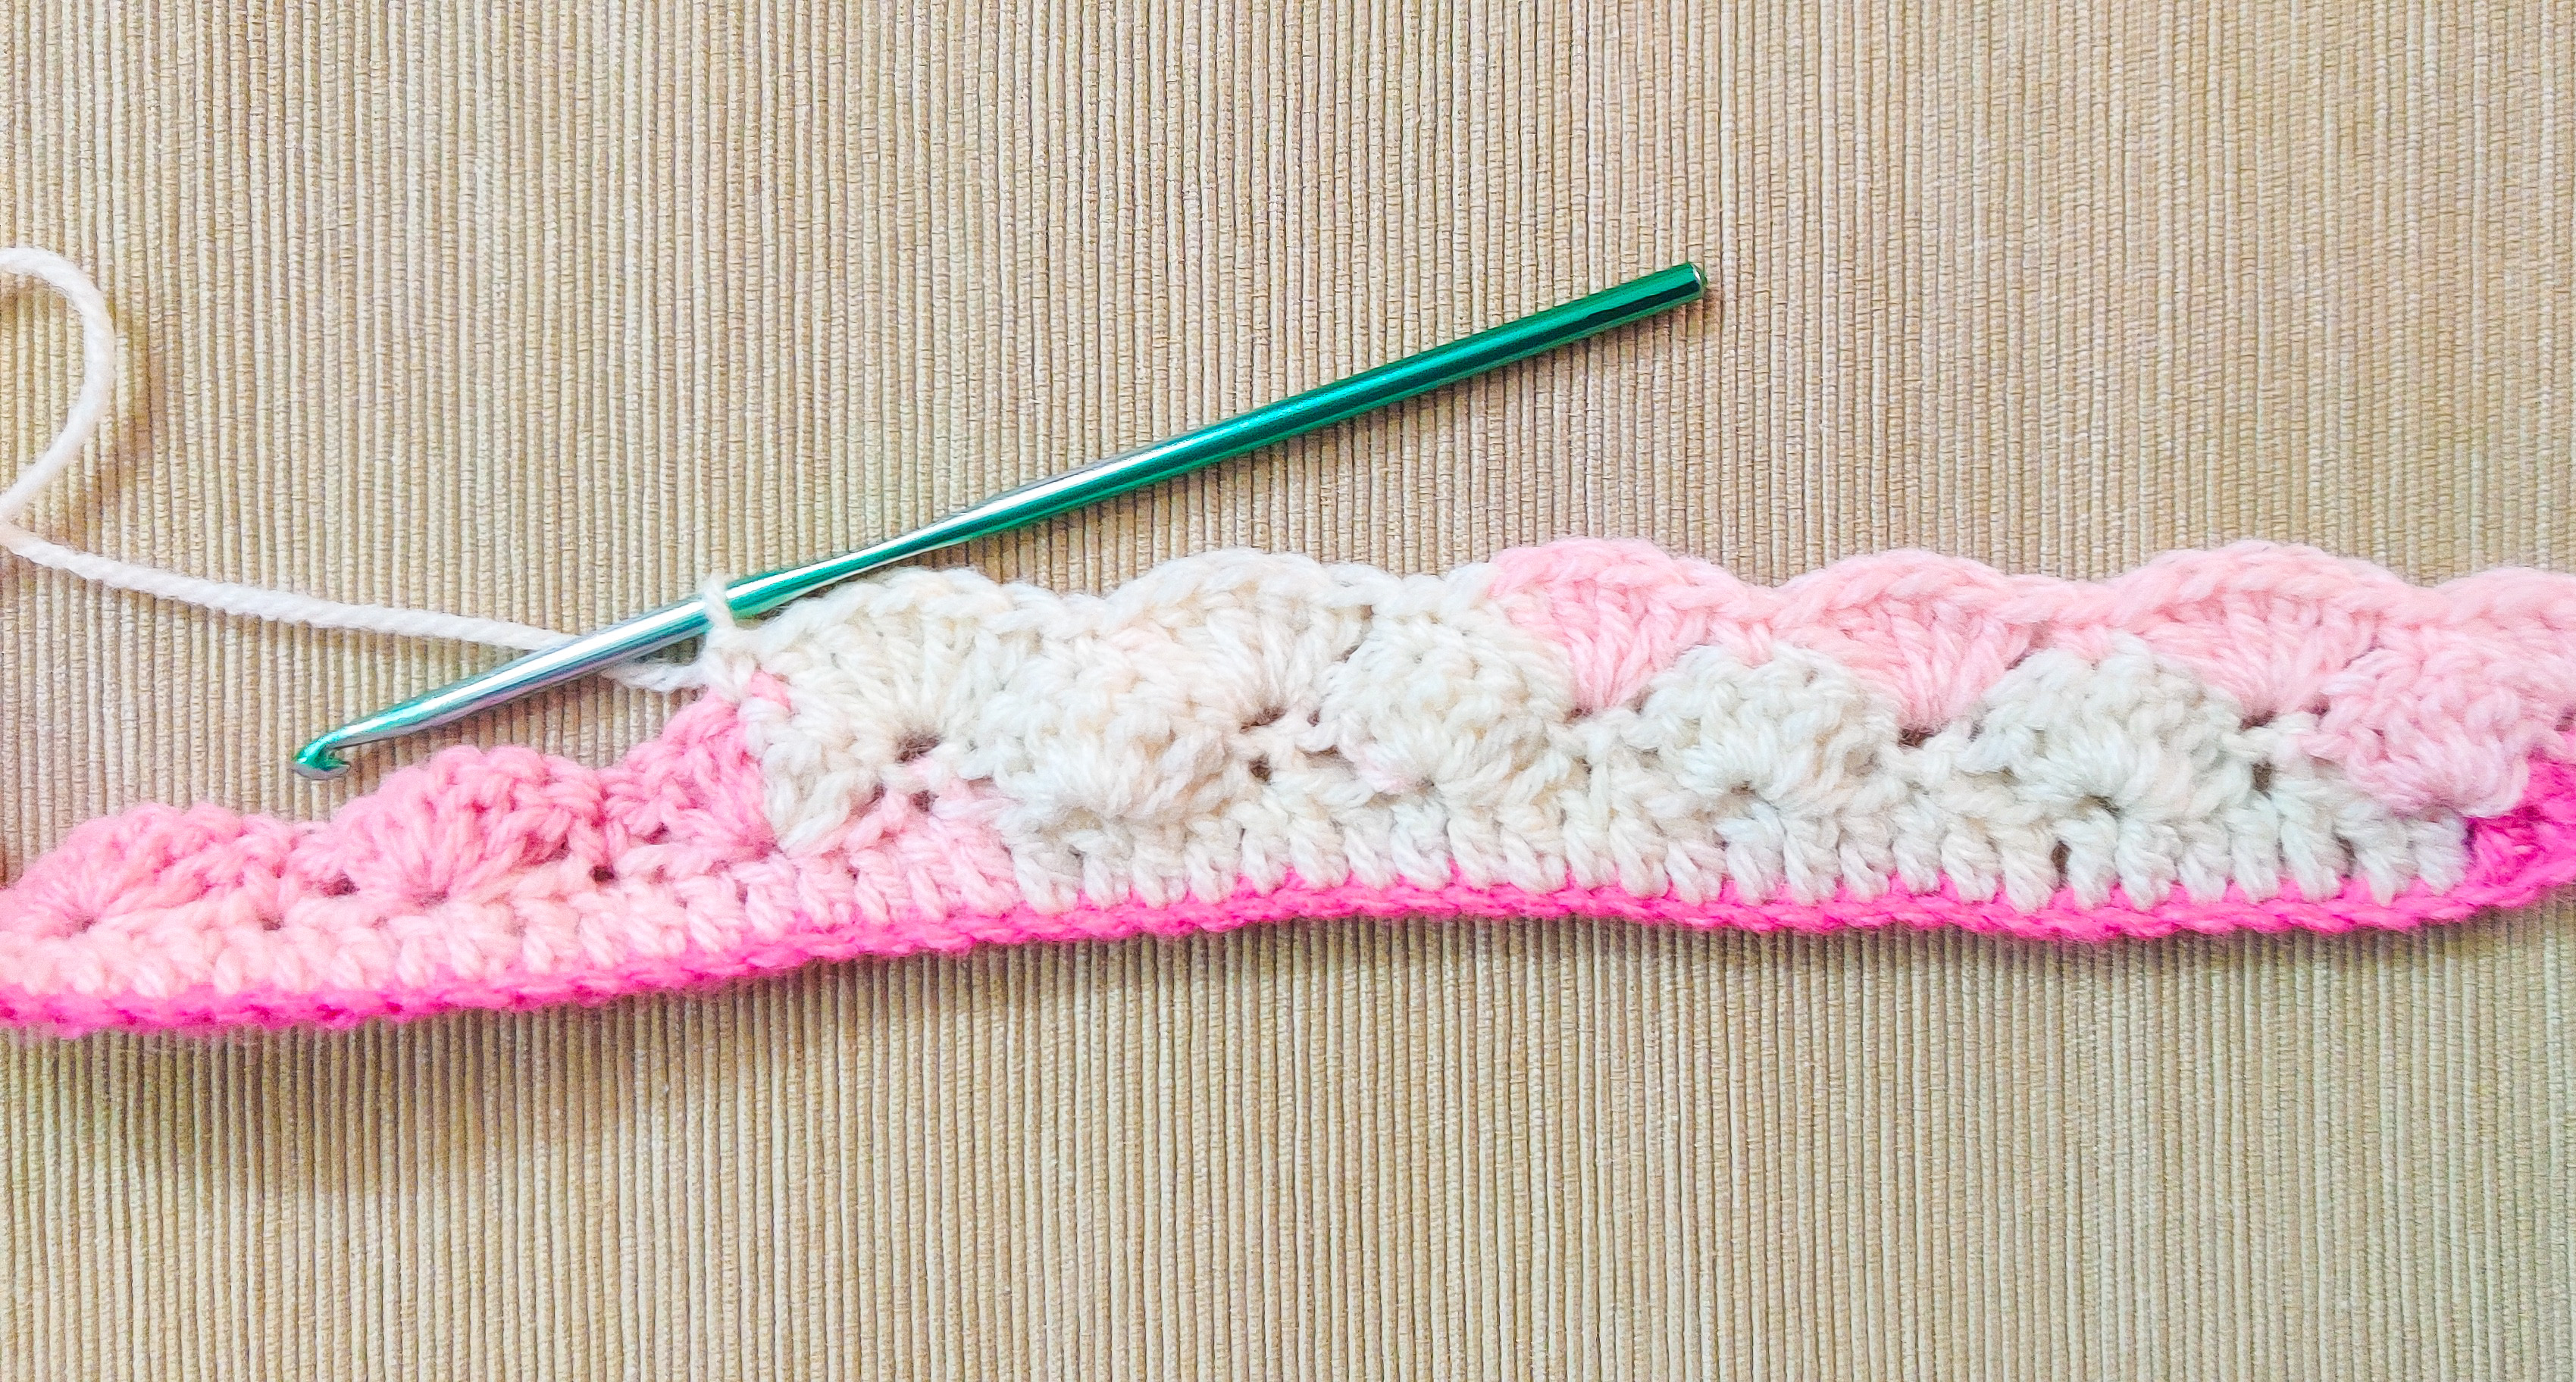
Straight Edge Turning Chain:-
Usually you would Chain 2, turn and start working the next round. Here is a quick tip to have a nice straight edge which I have been using this for most of my crochet projects.
- Insert the hook into the 1st chain from the bottom.
- Yarn over and pull up a loop. You should have 2 loops on the hook.
- Turn your project and insert the hook into the first stitch.(the first Double Crochet)
- Yarn over and pull up a loop. You will have 3 loops on the hook.
- Again, yarn over and pull through 2 loops. You will have 2 loops on the hook.
- Lastly, yarn over and pull through 2 loops.
- This will make one Double Crochet.


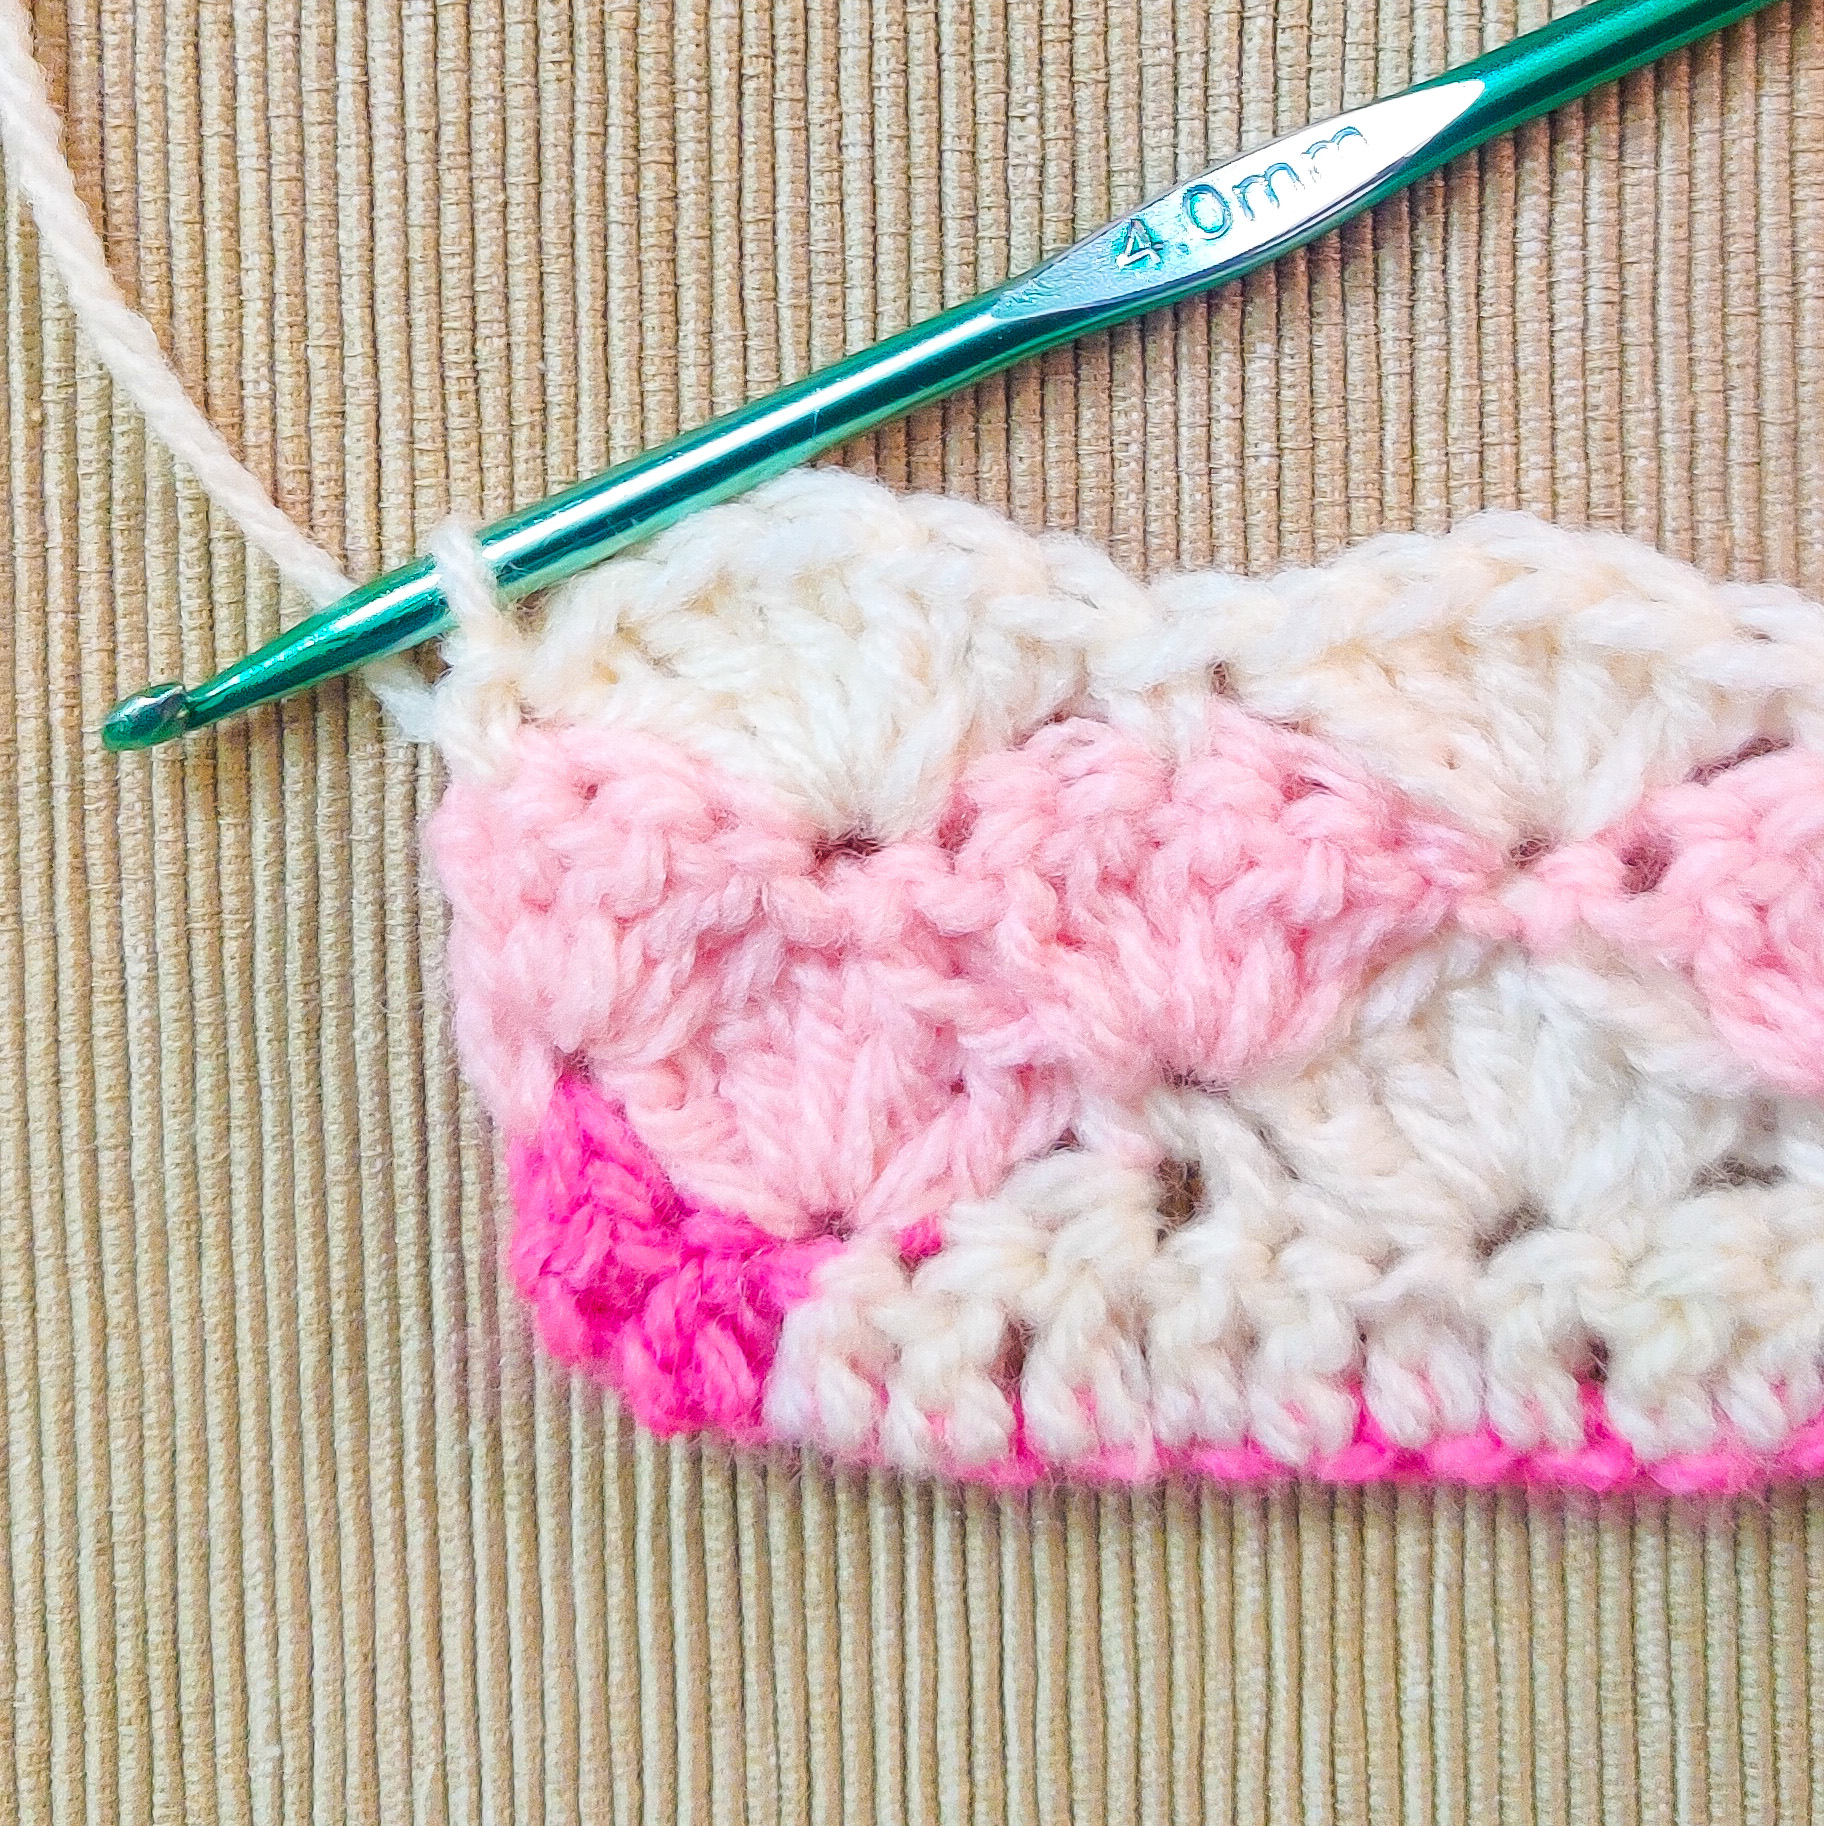
Round 4 :-
(1 Double Crochet is already made while making the turning chain)
2 more Double Crochets in the same stitch.
That would make total 3 Double Crochets.
1 Single Crochet on top of the Shell Stitch i.e. the third stitch.
5 Double Crochets in the next Single Crochet in between the 2 Shell stitches.
Repeat(1 SC (on top of the Shell) , 5 DC (in the SC in between the 2 Shells))
3 Double Crochets in the last stitch.
Once you reach the end Chain 1 and turn.


Round 5 :-
1 Single Crochet in the first stitch
5 Double Crochets in the next Single Crochet in between the 2 Shell stitches.
1 Single Crochet on top of the Shell Stitch i.e. the third stitch.
Repeat(1 SC (on top of the Shell) , 5 DC (in the SC in between the 2 Shells))
Once you reach the end Chain 2.
Use the Straight Edge Turning Chain to make the turning chain.


Round 6 Onwards :-
Keep Repeating Round 4 and Round 5 untill you reach the size needed.


Border:-
1 Double Crochet in each of the stitches and weave off.


Here is the Summary of the Pattern:-
Round 1 :-
Start with a Slip Knot.
Ch 96 + 1 Ch for the turning Ch.
This measures around 30 inches.
You can adjust the size of the blanket by altering these stitches according to your requirement.
Start with a multiple of 6 + 1 Ch extra for the turning Ch.
Round 2 :-
1 DC in the Second Ch from the hook.
1 DC each in the remaining stitches.
Once you reach end, Ch 1 and turn.
Round 3 :-
1 SC in the first stitch.
Sk 2 stitches.
5 DCs in the next stitch.(this would make the shell stitch)
Sk 2 Stitches.
1 SC in the next stitch.
Repeat(Sk 2, 5 DC, Sk 2, 1 SC)
Once you reach end, Ch 2.
Straight Edge Turning Ch:-
Usually you would Ch 2, turn and start working the next round. Here is a quick tip to have a nice straight edge which I have been using this for most of my crochet projects.
Insert the hook into the 1st Ch from the bottom.
Yarn over and pull up a loop. You should have 2 loops on the hook.
Turn your project and insert the hook into the first stitch.(the first DC)
Yarn over and pull up a loop. You will have 3 loops on the hook.
Again, yarn over and pull through 2 loops. You will have 2 loops on the hook.
Lastly, yarn over and pull through 2 loops.
This will make one DC.
Round 4 :-
(1 DC is already made while making the turning Ch)
2 more DCs in the same stitch.
That would make total 3 DCs.
1 SC on top of the Shell Stitch i.e. the third stitch.
5 DCs in the next SC in between the 2 Shell stitches.
Repeat(1 SC (on top of the Shell) , 5 DC (in the SC in between the 2 Shells))
3 Double Crochets in the last stitch.
Once you reach the end Ch 1 and turn.
Round 5 :-
1 SC in the first stitch
5 DCs in the next SC in between the 2 Shell stitches.
1 SC on top of the Shell Stitch i.e. the third stitch.
Repeat(1 SC (on top of the Shell) , 5 DC (in the SC in between the 2 Shells))
Once you reach the end Ch 2.
Use the Straight Edge Turning Ch to make the turning Ch.
Round 6 Onwards :-
Keep Repeating Round 4 and Round 5 untill you reach the size needed.
Border:-
1 DC in each of the stitches and weave off.
**********
.png)
.png)


This looks like fun. Can't wait to get the yarn and try it! Thanks for the easy directions.
ReplyDelete😊😊
DeleteHi. I have some great cake yarn - but not these colors - but can't wait to try this pattern. Thanks so much for the easy instructions and for posting this.
ReplyDeleteI love cake yarns......🥰Thank you so much 😊😊
Delete