

Today I was in a mood to crochet something which I would have been able to complete in just few minutes. So what comes in this list? Of Course!! Crocheted Ear warmers and Headbands. Crochet Ear warmers are beautifully and functionally versatile. You can make them in size , Texture, Design or Bulk as you wish.
Today am sharing the pattern for a Quick and Easy Crochet Twisted Earwarmer Headband. Twisted Ear warmers are the most basic and the most super fun project to make. They work up really quick and so you can easily crochet a couple of them in no time at all.
The textured look of the Earwarmer is made by working only in the Third Loop. They are perfect for using up your stash yarn. Crochet a bunch of them for yourself and they also make wonderful gifts for your loved ones.
Materials Used:-
10 Ply Bulky Cotton Yarn
6 mm Crochet Hook
6 mm Crochet Hook
Size:-
4 / 23 Inches - Customizable to any size
AD-FREE, PRINTER-FRIENDLY PDF PATTERN:
The written pattern and photo tutorial is given below along with a free video tutorial. This pattern is also available as an ad-free, printer-friendly pdf pattern that can be purchased on Ravelry. Please click the link below to purchase the PDF Pattern.
Here is the Video Tutorial:-
You can follow along with this tutorial video. Please be sure to subscribe too!
PIN it and Save for Later:-

Let's Start:-
Round 1:-
Start with a Slip Knot.
Chain 60.
This base measures around 20 Inches.
You can adjust the size of the Earwarmer by altering these stitches according to your requirement.


Round 2:-
1 Half Double Crochet in the Second Chain from the hook.
1 Half Double Crochet each in the remaining stitches.
1 Half Double Crochet each in the remaining stitches.
Once you reach end, Chain 1 and turn your work.


Round 3:-
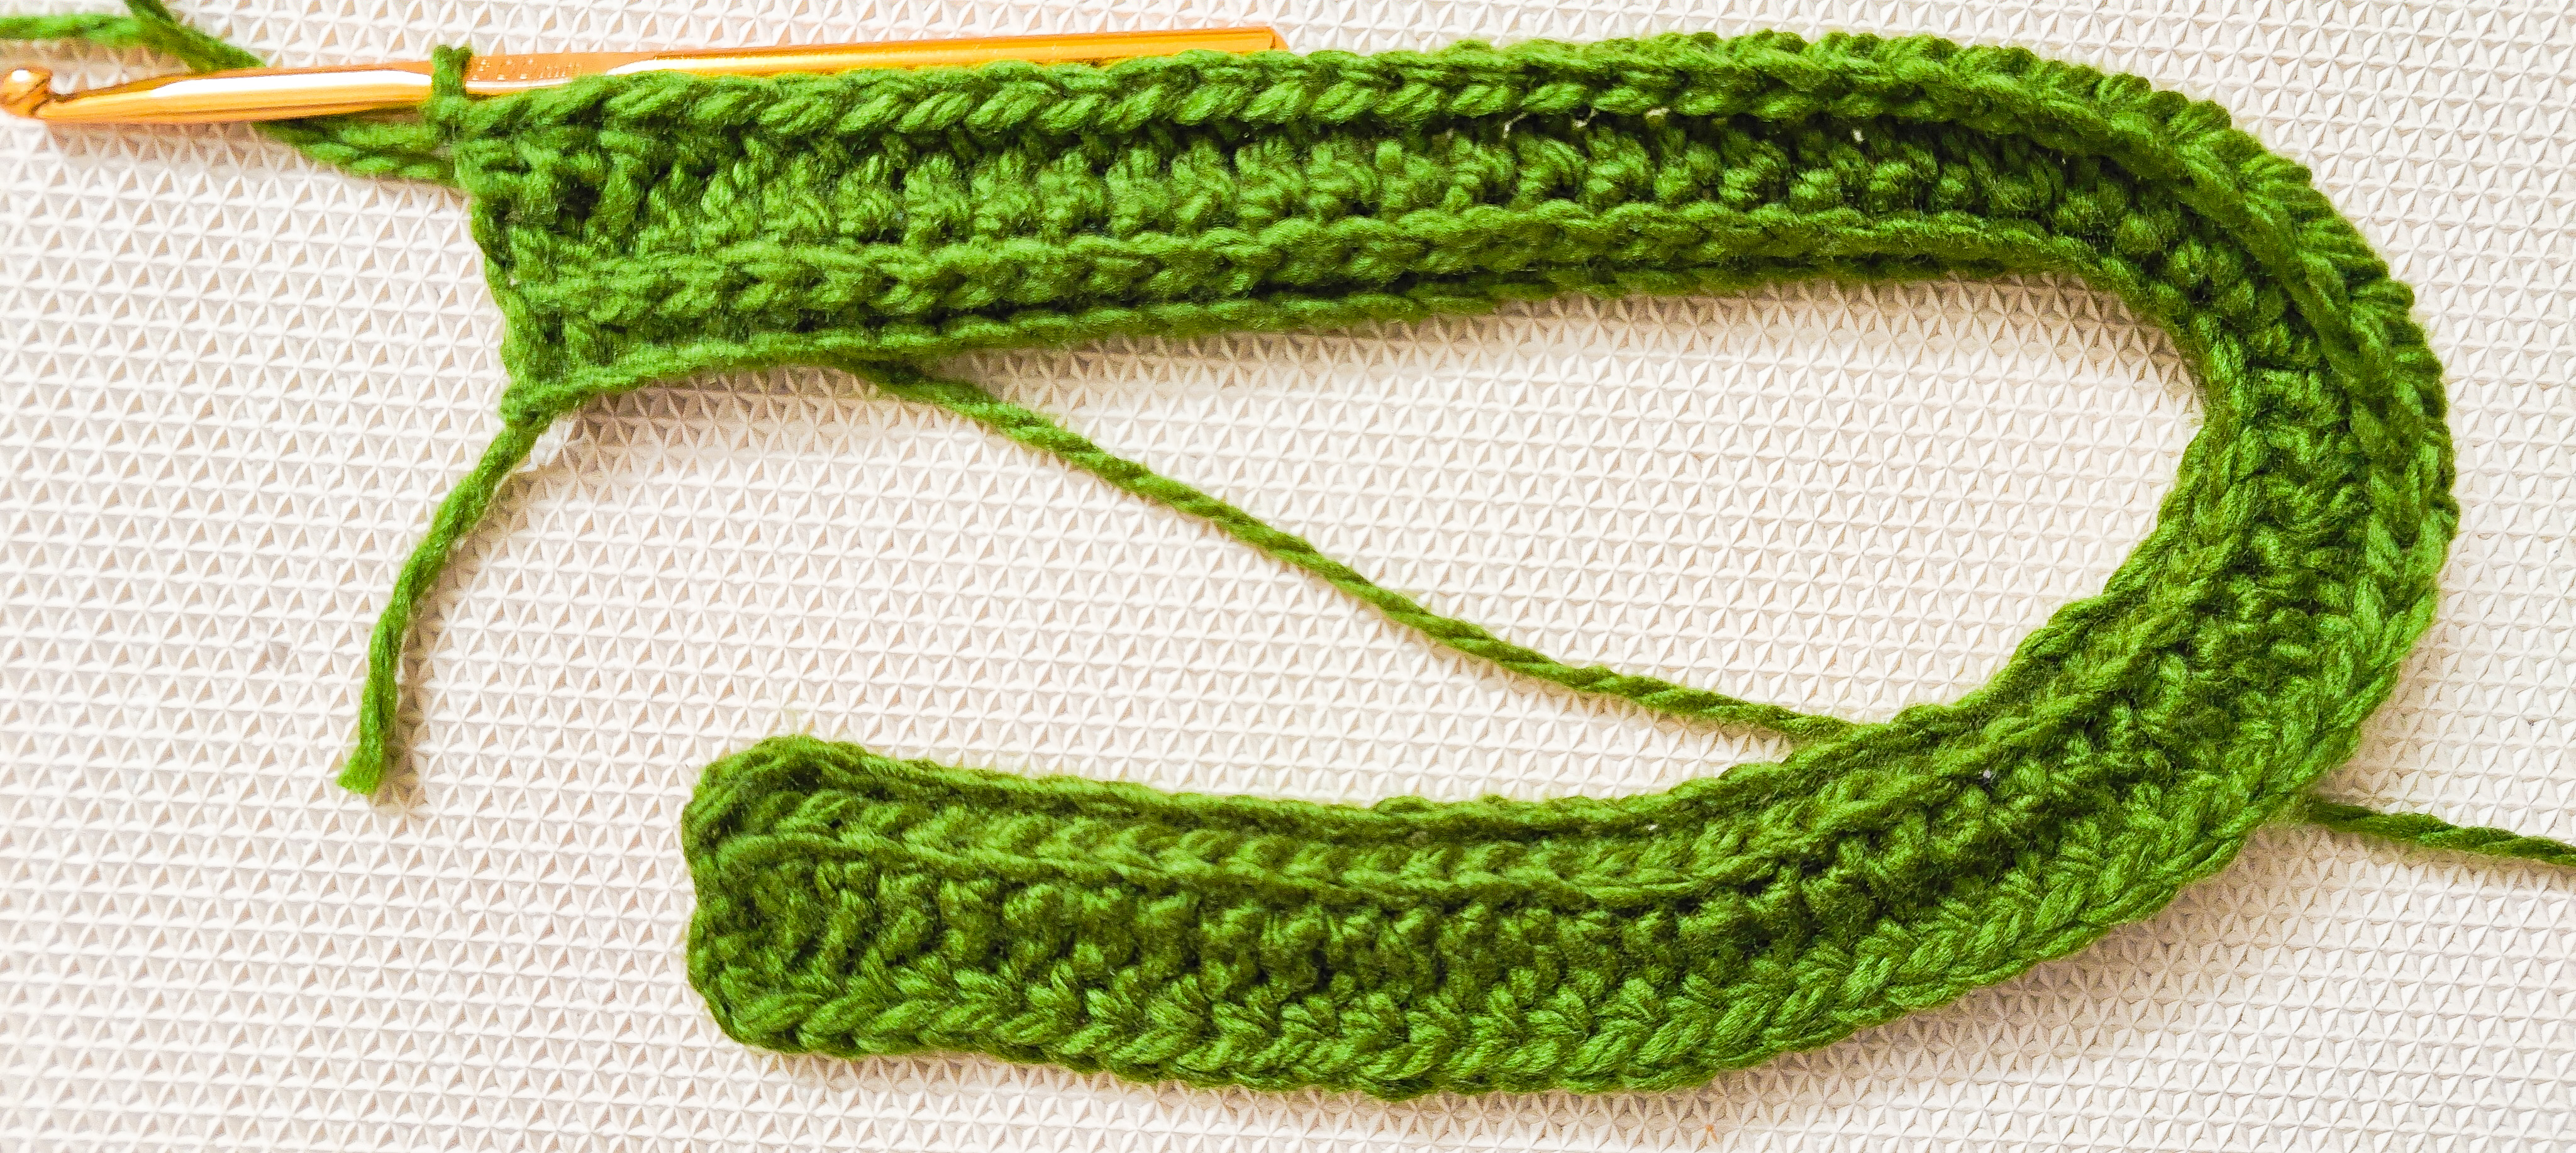
**This round onwards , we will be making the stitches into the Third Back Loop of the stitch - i.e. Count the Stitches from the back - Back Loop , Front Loop and the loop in the front is the Third Loop.(Plz do check out the Video Tutorial for more clarity)
1 Half Double Crochet in each of the Third Loops.
Once you reach the end , Chain 1 and turn your work.


Keep repeating Round 3 untill its around 4 to 5 inches in size.


Place the two ends of the Earwarmer together so they are halfway overlapping with each other.
Fold one half over the other open one.
Fold the open one over the already folded one so that it overlapping each other and forms a zig zag pattern.
Use a yarn needle sew all the four layers together. Be sure to insert the yarn needle through all 4 layers.
Sew back and forth a few times to secure the layers together.
Weave in the ends and turn the ear warmer inside out.


Round 1:-
Start with a Slip Knot.
Ch 60.
This base measures around 20 Inches.
You can adjust the size of the Earwarmer by altering these Sts according to your requirement.
Round 2:-
1HDC in the Second Ch from the hook.
1HDC each in the remaining Sts.
Once you reach end, Ch 1 and turn your work.
Round 3:-
**This round onwards , we will be making the Sts into the Third Back Loop of the St - i.e. Count the Sts from the back - Back Loop , Front Loop and the loop in the front is the Third Loop.(Plz do check out the Video Tutorial for more clarity)
1HDC in each of the Third Loops.
Once you reach the end , Ch 1 and turn your work.
Round 4:-
Keep repeating Round 3 untill its around 4 to 5 inches in size.
Joining:-
Place the two ends of the Earwarmer together so they are halfway overlapping with each other.
Fold one half over the other open one.
Fold the open one over the already folded one so that it overlapping each other and forms a zig zag pattern.
Use a yarn needle sew all the four layers together. Be sure to insert the yarn needle through all 4 layers.
Sew back and forth a few times to secure the layers together.
Weave in the ends and turn the ear warmer inside out.
**********
.png)

.png)

.png)
Very nicely Explained. Thanks
ReplyDeleteThank you so much 😊
DeleteThis is a fantastic, beginner friendly twisted ear warmer project! Thank you for linking up at our weekly Link Party! You are being featured at our Wednesday
ReplyDeleteParty #494 this week. Here’s the direct link to the post in case you’d like to share your feature:
https://oombawkadesigncrochet.com/twisted-ear-warmer-bunny-puppets-diy-how-to-sew-a-baby-blanket-link-party-494/
Hope to see you again next week! Rhondda
Thank you so much for the feature 🥰😊🤗
DeleteThis will be my first time attempting an ear warmer. The pattern seems very easy to follow. Absolutely loved the video tutorial! Really explained the couple of questions I had about certain parts of the pattern. Thank you for sharing!
ReplyDeleteThank u so much 🥰😊
Delete