

Crochet Pot Holders are the most the most amazing things to crochet for your kitchen. Not only are they practical and functional thing to make but they are amazingly quick and fun to make. They also make a great last minute gifts specially for a Housewarming party or any other Seasonal Festivities too. You just need to color code them accordingly. They are also great to sell at Craft Fairs.
Today am sharing the tutorial on How To Crochet A Easy Textured Double Thick Potholder. This Potholder crochet pattern works up quick and the double thickness makes it strong and durable too. It is just made with the basic Single Crochets and Double Crochets worked in a sequence. This gives the potholder the textured look.
There are simply many ways to crochet a Double Thick Square Potholder. You can simple make the base and work in rounds to form a square and sew them up on the top. The other way to make is to make them in a diagonal way. The diagonal potholder is crocheted in the round to form a pouch or a envelope .This envelope is then opened and folded in the middle. This folding creates the lovely double thickness of the potholder with a pretty lovely seam.
Materials Used:-
Worsted Weight Yarn
5 mm Crochet Hook
5 mm Crochet Hook
Size:-
10 inches- Customizable to any size
Crochet Terms Used:-
US Crochet Terms
Abbreviations Used:-
Ch - Chain
DC - Double Crochet
SC - Single Crochet
St/Sts - Stitch/Stitches
AD-FREE, PRINTER-FRIENDLY PDF PATTERN:
The written pattern and photo tutorial is given below along with a free video tutorial. This pattern is also available as an ad-free, printer-friendly pdf pattern that can be purchased on Ravelry . Please click the link below to purchase the PDF Pattern.
Here is the Video Tutorial:-
You can follow along with this tutorial video. Please be sure to subscribe too!
PIN it and Save for Later:-

Let's Start...!!!
Round 1:-
Start with a slip knot.
Chain 30.
This measures 10 inches. If you wish to make a larger or smaller size potholder, then you can adjust these starting number of chain stitches according to your requirement.
Start with any Multiple of 2.


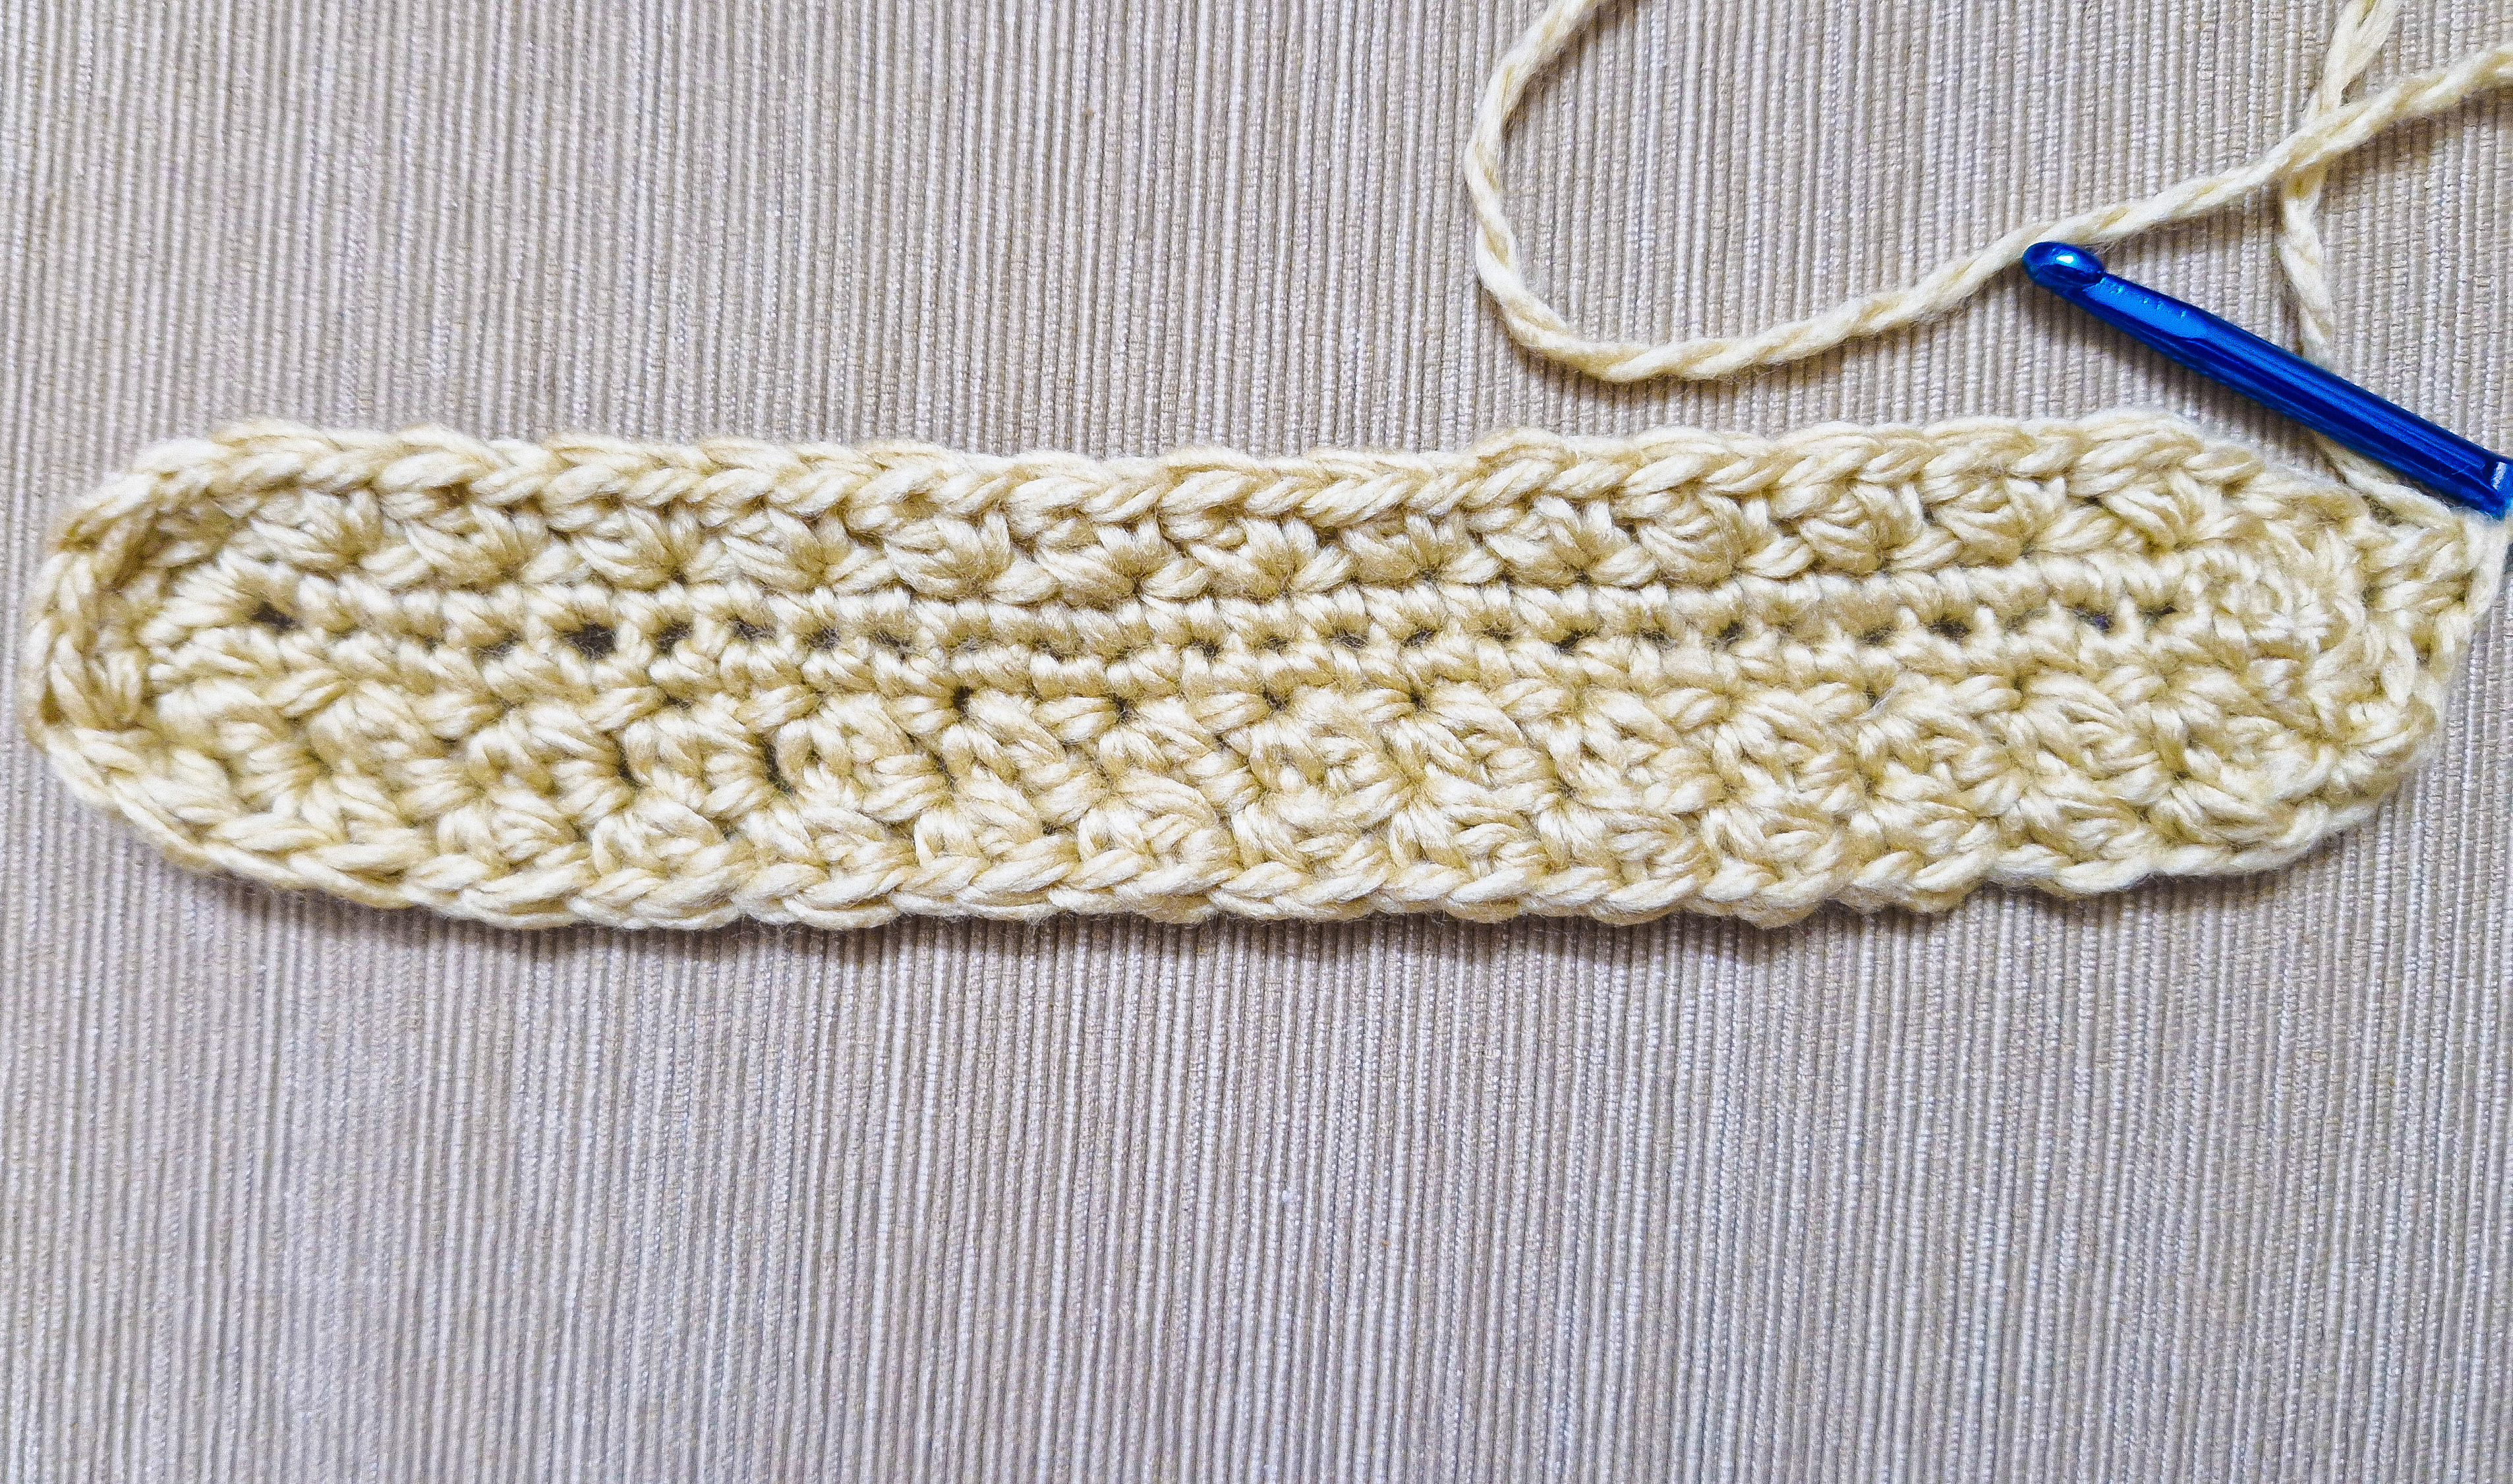
Round 2:-
3 Single Crochets in the 2nd chain from the hook.
1 Single Crochet each in the remaining stitches untill the last stitch.
3 Single Crochets in the last stitch.
Turn your work and start working on the opposite sides.
1 Single Crochet each in the remaining stitches untill the last stitch.
Slip stitch on top of the 1st Single Crochet.


Round 3:-
Chain 1(Not Counted as a stitch). Start the next stitch in the same stitch.
(1 Single Crochet, 1 Double Crochet)- all in the same stitch.
Skip the next stitch.
Repeat((1SC,1DC),Skip 1)
Do not slip stitch once you reach the end. We will be working in continuous rounds.


Round 4 Onwards:-
**This Round Onwards we will be working only into the Single Crochets from the previous rounds.
(1 Single Crochet, 1 Double Crochet) into each of the Single Crochets.
Do not slip stitch once you reach the end. We will be working in continuous rounds.


Round 5 Onwards:-
Keep repeating Round 4 untill its around 5 to 6 inches in size or untill you have rectangle pouch formed .
Stop making the stitches once you reach the mid point .


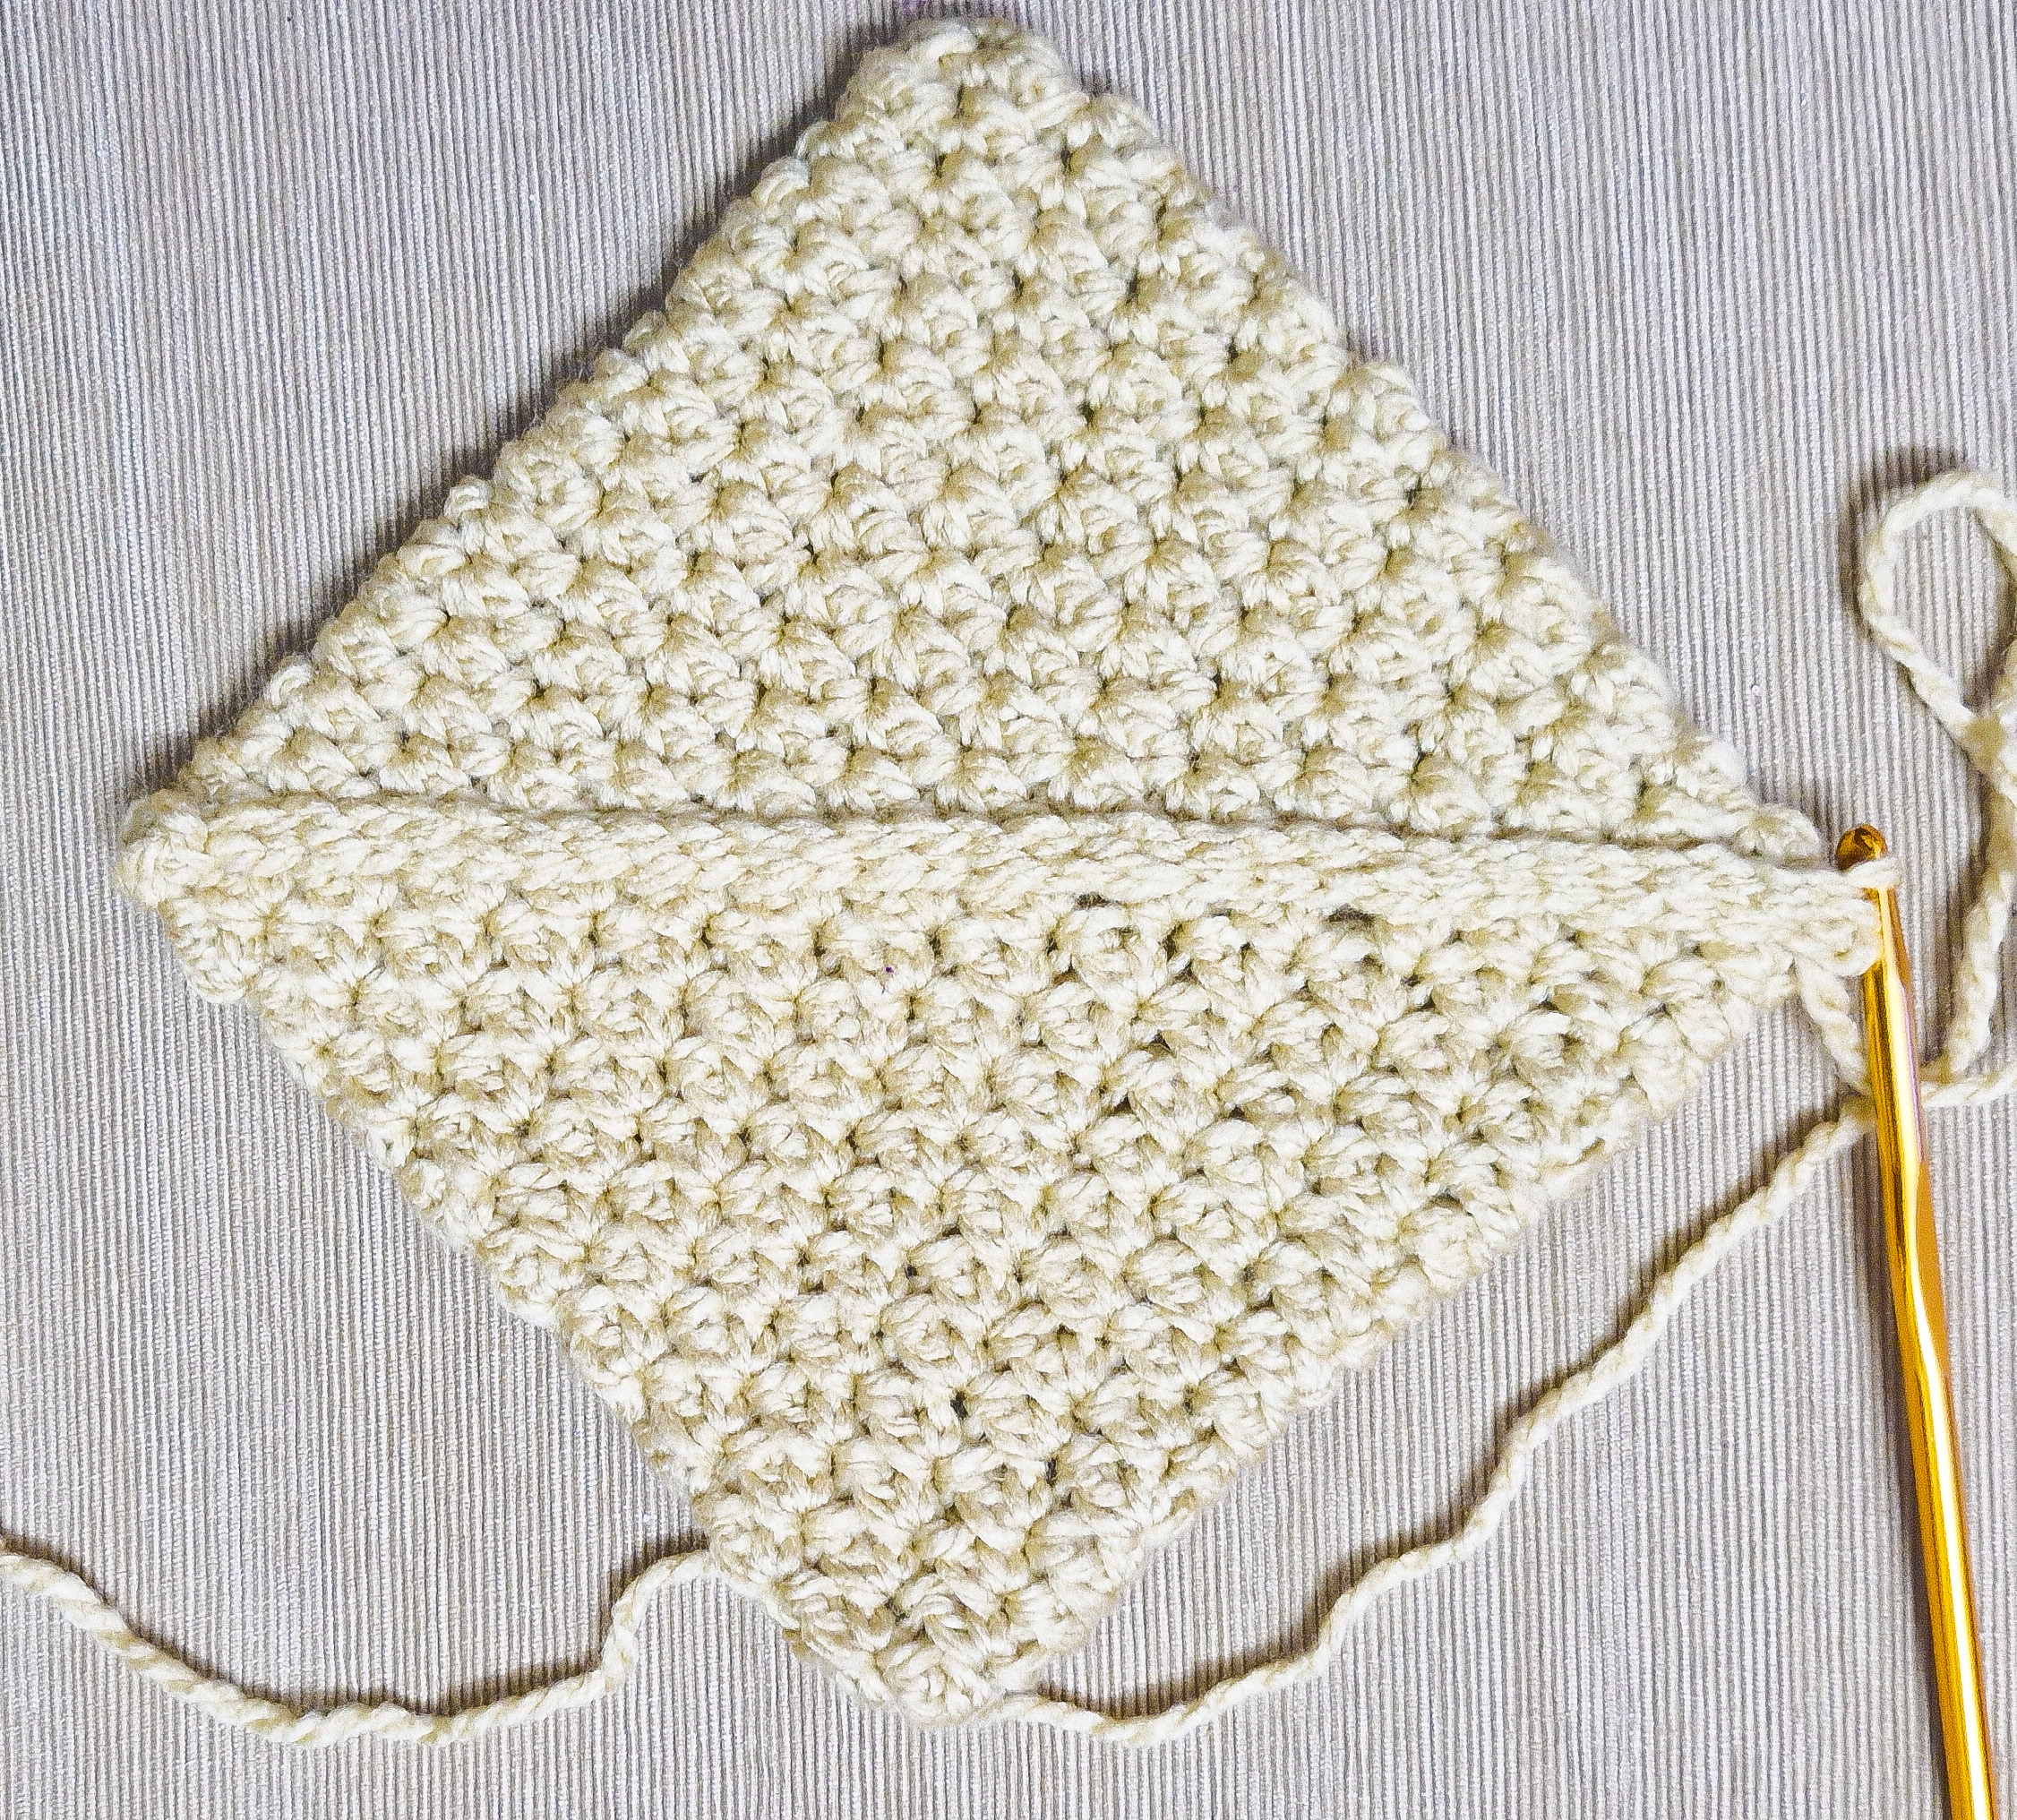
Joining:-
Open and Fold the top edges in toward the center to create a diagonal seam and you will have a Square shape formed.
Join both the side with slip stitches.


Hanging Loop:-
Chain 12.
Slip Stitch into the same stitch (i.e the bottom stitch) and weave off.


Round 1:-
Start with a slip knot.
Ch 30.
This measures 10 inches. If you wish to make a larger or smaller size potholder, then you can adjust these starting number of Ch Sts according to your requirement.
Start with any Multiple of 2.
Round 2:-
3SCs in the 2nd Ch from the hook.
1SC each in the remaining Sts untill the last St.
3SCs in the last St.
Turn your work and start working on the opposite side.
1SC each in the remaining Sts untill the last St.
SL on top of the 1st SC.
Round 3:-
Ch 1(Not Counted as a St). Start the next St in the same St.
(1SC,1DC)- all in the same St.
Skip the next St.
Repeat((1SC,1DC),Skip 1)
Do not SL once you reach the end. We will be working in continuous rounds.
Round 4 Onwards:-
**This Round Onwards we will be working only into theSCs from the previous rounds.
(1SC,1DC) into each of theSCs.
Do not SL once you reach the end. We will be working in continuous rounds.
Round 5 Onwards:-
Keep repeating Round 4 untill its around 5 to 6 inches in size or untill you have rectangle pouch formed .
Stop making the Sts once you reach the mid point .
Joining:-
Open and Fold the top edges in toward the center to create a diagonal seam and you will have a Square shape formed.
Join both the sides with SLs.
Hanging Loop:-
Ch 12.
SL into the same St (i.e the bottom St) and weave off.
*******


No comments:
Post a Comment
Thank you for taking time to stop by. I would love if you leave some inspiring comments about the post. To avoid spam , your comment will be verified and posted in sometime. Thank you!!!