
I love making crochet projects that are really useful for basic daily life. Crochet organizers are one of my favorites. I love making crochet baskets , storage bags and Organizer Caddy and crochet cases. Organizers are great and they sure do come handy in each and every corner of the house and bags, cases and pouches are awesome to carry and protect your electronic gadgets.
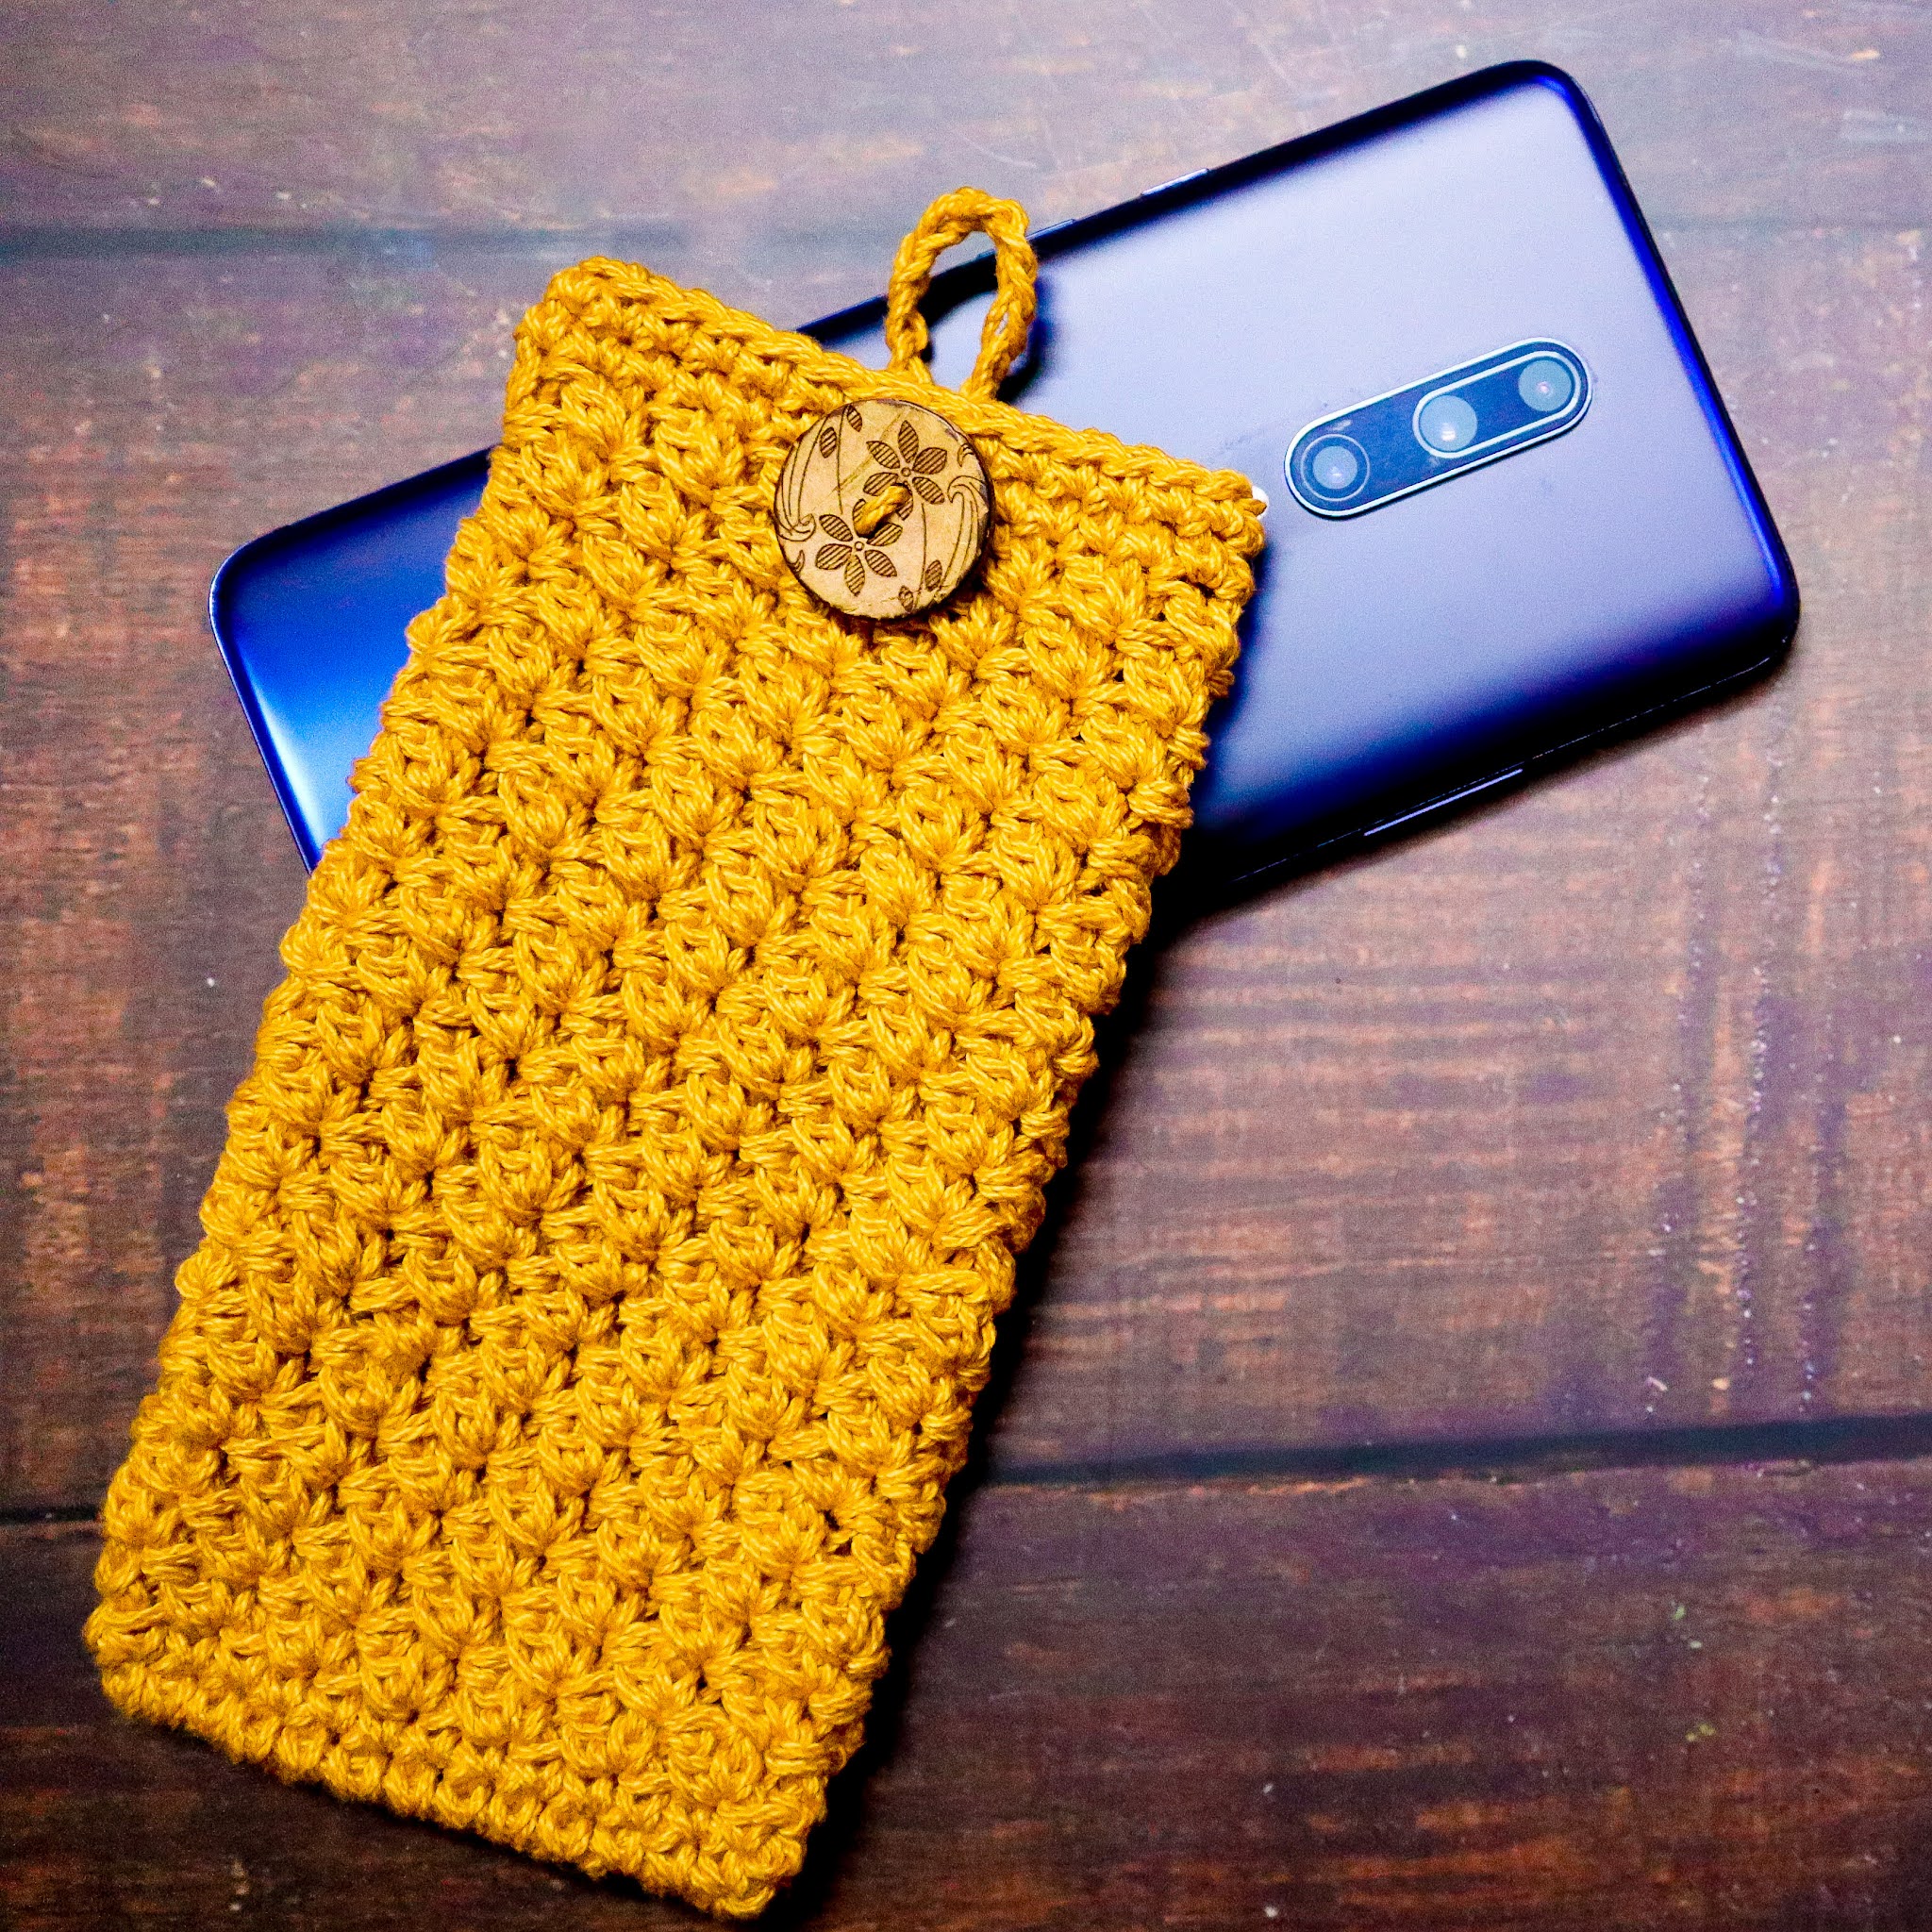
Today am sharing the pattern for this easy to make Textured Crochet Mobile pouch. These are made with simple Single Crochet and Double Crochets worked in the same stitch which gives the unique textured look. You can customize the crochet pouch according to your choice of color and size. These are fairly quick to make , so gather your tools and materials and whip up some pouches for yourself and for your near and dear ones too.
Materials Used:-
4ply Cotton Knitting Yarn
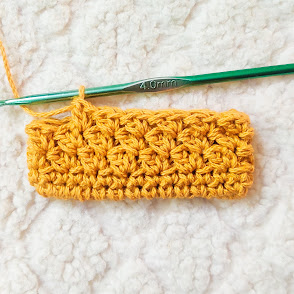
4mm Crochet Hook
Here is the Video Tutorial:-
Round 1:-
Start with a slip knot.
Chain 12. You can change these starting number of chains according to the size of your gadget.
1 Single Crochet in the 2nd chain from the hook.
1 Single Crochet each in the remaining stitches untill the last stitch.
3 Single Crochets in the last stitch.
Turn your work and start working on the opposite side.
1 Single Crochet each in the remaining stitches untill the last stitch.
3 Single Crochets in the last stitch.
Slip stitch on top of the 1st Single Crochet.


Chain 1(Not Counted as a stitch)
1 Single Crochet in the same stitch.
1 Single Crochet each in the remaining stitches.
Slip Stitch on top of the fist Single Crochet.


 Round 4 Onwards:-


Round 3:-
Chain 1(Not Counted as a stitch). Start the next stitch in the same stitch.
(1 Single Crochet, 1 Double Crochet)- all in the same stitch.
Skip the next stitch.
Repeat((1SC,1DC),Skip 1)
Do not slip stitch once you reach the end. We will be working in continuous rounds.


Keep repeating the Stitch Pattern - ((1SC,1DC),Skip 1) untill you reach he size needed.


 Button Loop Step 1:-


1 Single Crochet in each stitch around.


Chain 1(Not counted as a stitch).Start the next stitch in the same stitch.
1 Single Crochet in each stitch untill you reach the mid point.
Fold the pouch in half to gauge the mid point.
Chain 10 and 1 Single Crochet in the same stitch.
This will make the button loop. You can change these stitches according to the size of the button you are using.
1 Single Crochet each in the remaining stitches.
Slip stitch on top of the first Single Crochet and weave off.
Using the yarn needle, sew the button on the opposite side of the Button Loop.


Here is the Summary of the Pattern:-
Round 1:-
Start with a slip knot.
Chain 12. You can change these starting number of chains according to the size of your gadget.
1 SC in the 2nd chain from the hook.
1 SC each in the remaining stitches untill the last stitch.
3 SCs in the last stitch.
Turn your work and start working on the opposite side.
1 SC each in the remaining stitches untill the last stitch.
3 SCs in the last stitch.
SL on top of the 1st SC.
Round 2:-
Chain 1(Not Counted as a stitch)
1 SC in the same stitch.
1 SC each in the remaining stitches.
SL on top of the fist SC.
Round 3:-
Chain 1(Not Counted as a stitch). Start the next stitch in the same stitch.
(1 SC, 1 DC)- all in the same stitch.
SK the next stitch.
Repeat((1SC,1DC),SK 1)
Do not SL once you reach the end. We will be working in continuous rounds.
Round 4 Onwards:-
Keep repeating the Stitch Pattern - ((1SC,1DC),SK 1) untill you reach he size needed.
Button Loop Step 1:-
1 SC in each stitch around.
SL on top of the first SC.
Button Loop Step 2:-
Chain 1(Not counted as a stitch).Start the next stitch in the same stitch.
1 SC in each stitch untill you reach the mid point.
Fold the pouch in half to gauge the mid point.
Chain 10 and 1 SC in the same stitch.
This will make the button loop. You can change these stitches according to the size of the button you are using.
1 SC each in the remaining stitches.
SL on top of the first SC and weave off.
Using the yarn needle, sew the button on the opposite side of the Button Loop.
********
.png)


Hi Raji! Your textured crochet mobile pouch is very pretty. I love how you have both a photo tutorial and a video tutorial too. Thank you for linking up at our weekly Link Party! You are being featured at our Wednesday Party #421 this week. Here’s the direct link to the post in case you’d like to share your feature:
ReplyDeletehttps://oombawkadesigncrochet.com/2021/10/crocheted-lamp-shades-textured-crochet-mobile-pouch-sweetly-dress-link-party-421.html
Hope to see you again next week! Rhondda
That's so kind of you....😊😊
Delete....Thank you so much for the feature ....very happy to be featured 😊😊😊
Thank you for sharing your creations and not charging for them as some of us can't afford to pay for patterns. I'm making your phone cozy this morning.
ReplyDeleteThat's so sweet of you ☺️☺️... thank you so much ☺️☺️🥰
Delete