
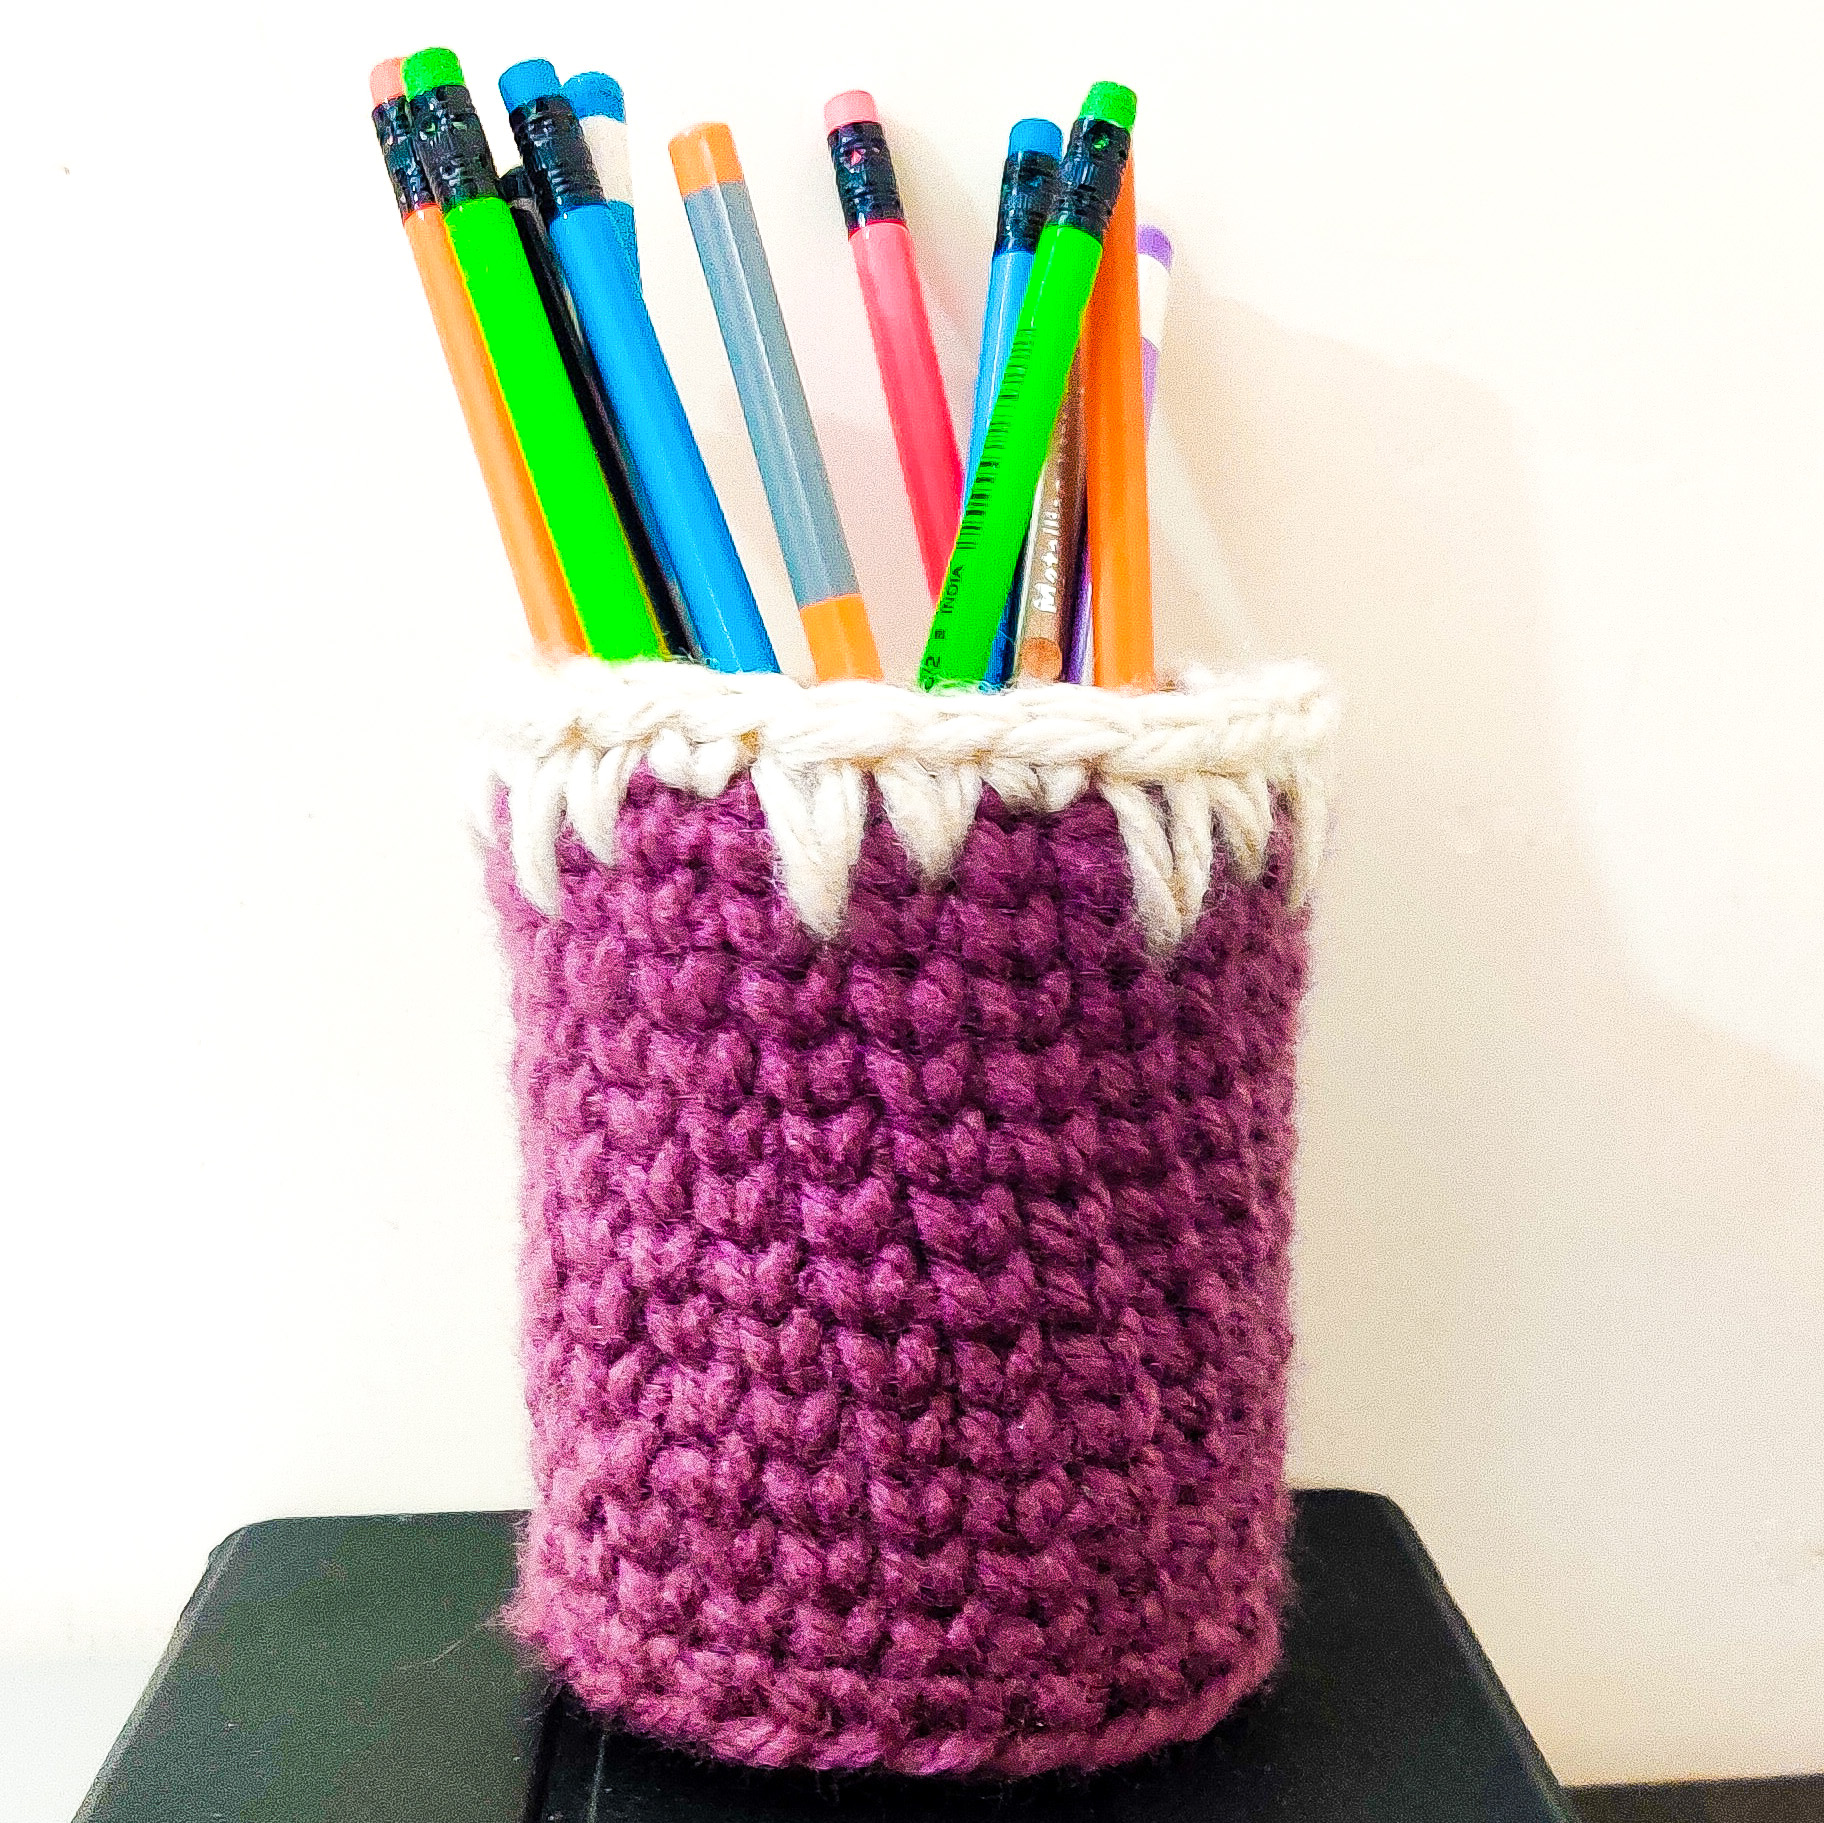
Looking for a quick and easy crochet project to organize your desk? This Crochet Pen and Pencil Holder is a simple and useful crochet organizer that is perfect for keeping pens, pencils, stationery, and even crochet hooks neatly in one place.
This crochet pen holder is made using the Waistcoat Stitch, which gives the finished basket a beautiful knitted look. It is a quick crochet project that works up with bulky yarn and can easily be customized to make a smaller or larger holder according to your needs.
Whether you need a cute desk organizer, a pencil holder for your workspace, or a handy crochet hook holder, this simple crochet basket is both practical and fun to make.
Materials Used:-
Bulky Yarn - 12 Ply
6mm Crochet Hook
Size:-
3.5/4.5 inches - can be customized to any size
🧶 Ad-Free, Printer-Friendly PDF Pattern:-
Prefer to crochet offline? This pattern is also available as an ad-free, printer-friendly PDF that includes the complete written instructions and step-by-step photo tutorial. You can purchase and instantly download the PDF from Ravelry using the link below.

Here is the Video Tutorial:-
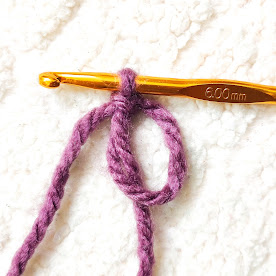
Start with a Magic Circle.
Chain 2(Not Counted as a stitch)
12 Double Crochets in the circle.
Pull the yarn end to close the gap.
Slip Stitch on top of the first Double Crochet.
12 Stitches.


 Round 2:-
Chain 2(Not Counted as a stitch)
12 Double Crochets in the circle.
Pull the yarn end to close the gap.
Slip Stitch on top of the first Double Crochet.
12 Stitches.


Chain 2.
2 Double Crochets in each stitch around.
Slip stitch on top of the first Double Crochet.
24 stitches.


Chain 1(Not Counted as a stitch)
Start the next stitch in the same stitch.
1 Back Loop single Crochet in each stitch around.
This will create the turning base.
Slip stitch on top of the first Single Crochet.(Insert your hook in both the loops)


 Round 4:-


Chain 1(Not Counted as a stitch)
Start the next stitch in the same stitch.
1 Single Crochet in each stitch around.
Once you reach the end, Do not slip stitch.
We will be working in continuous rounds.


 Round 5 Onwards:-


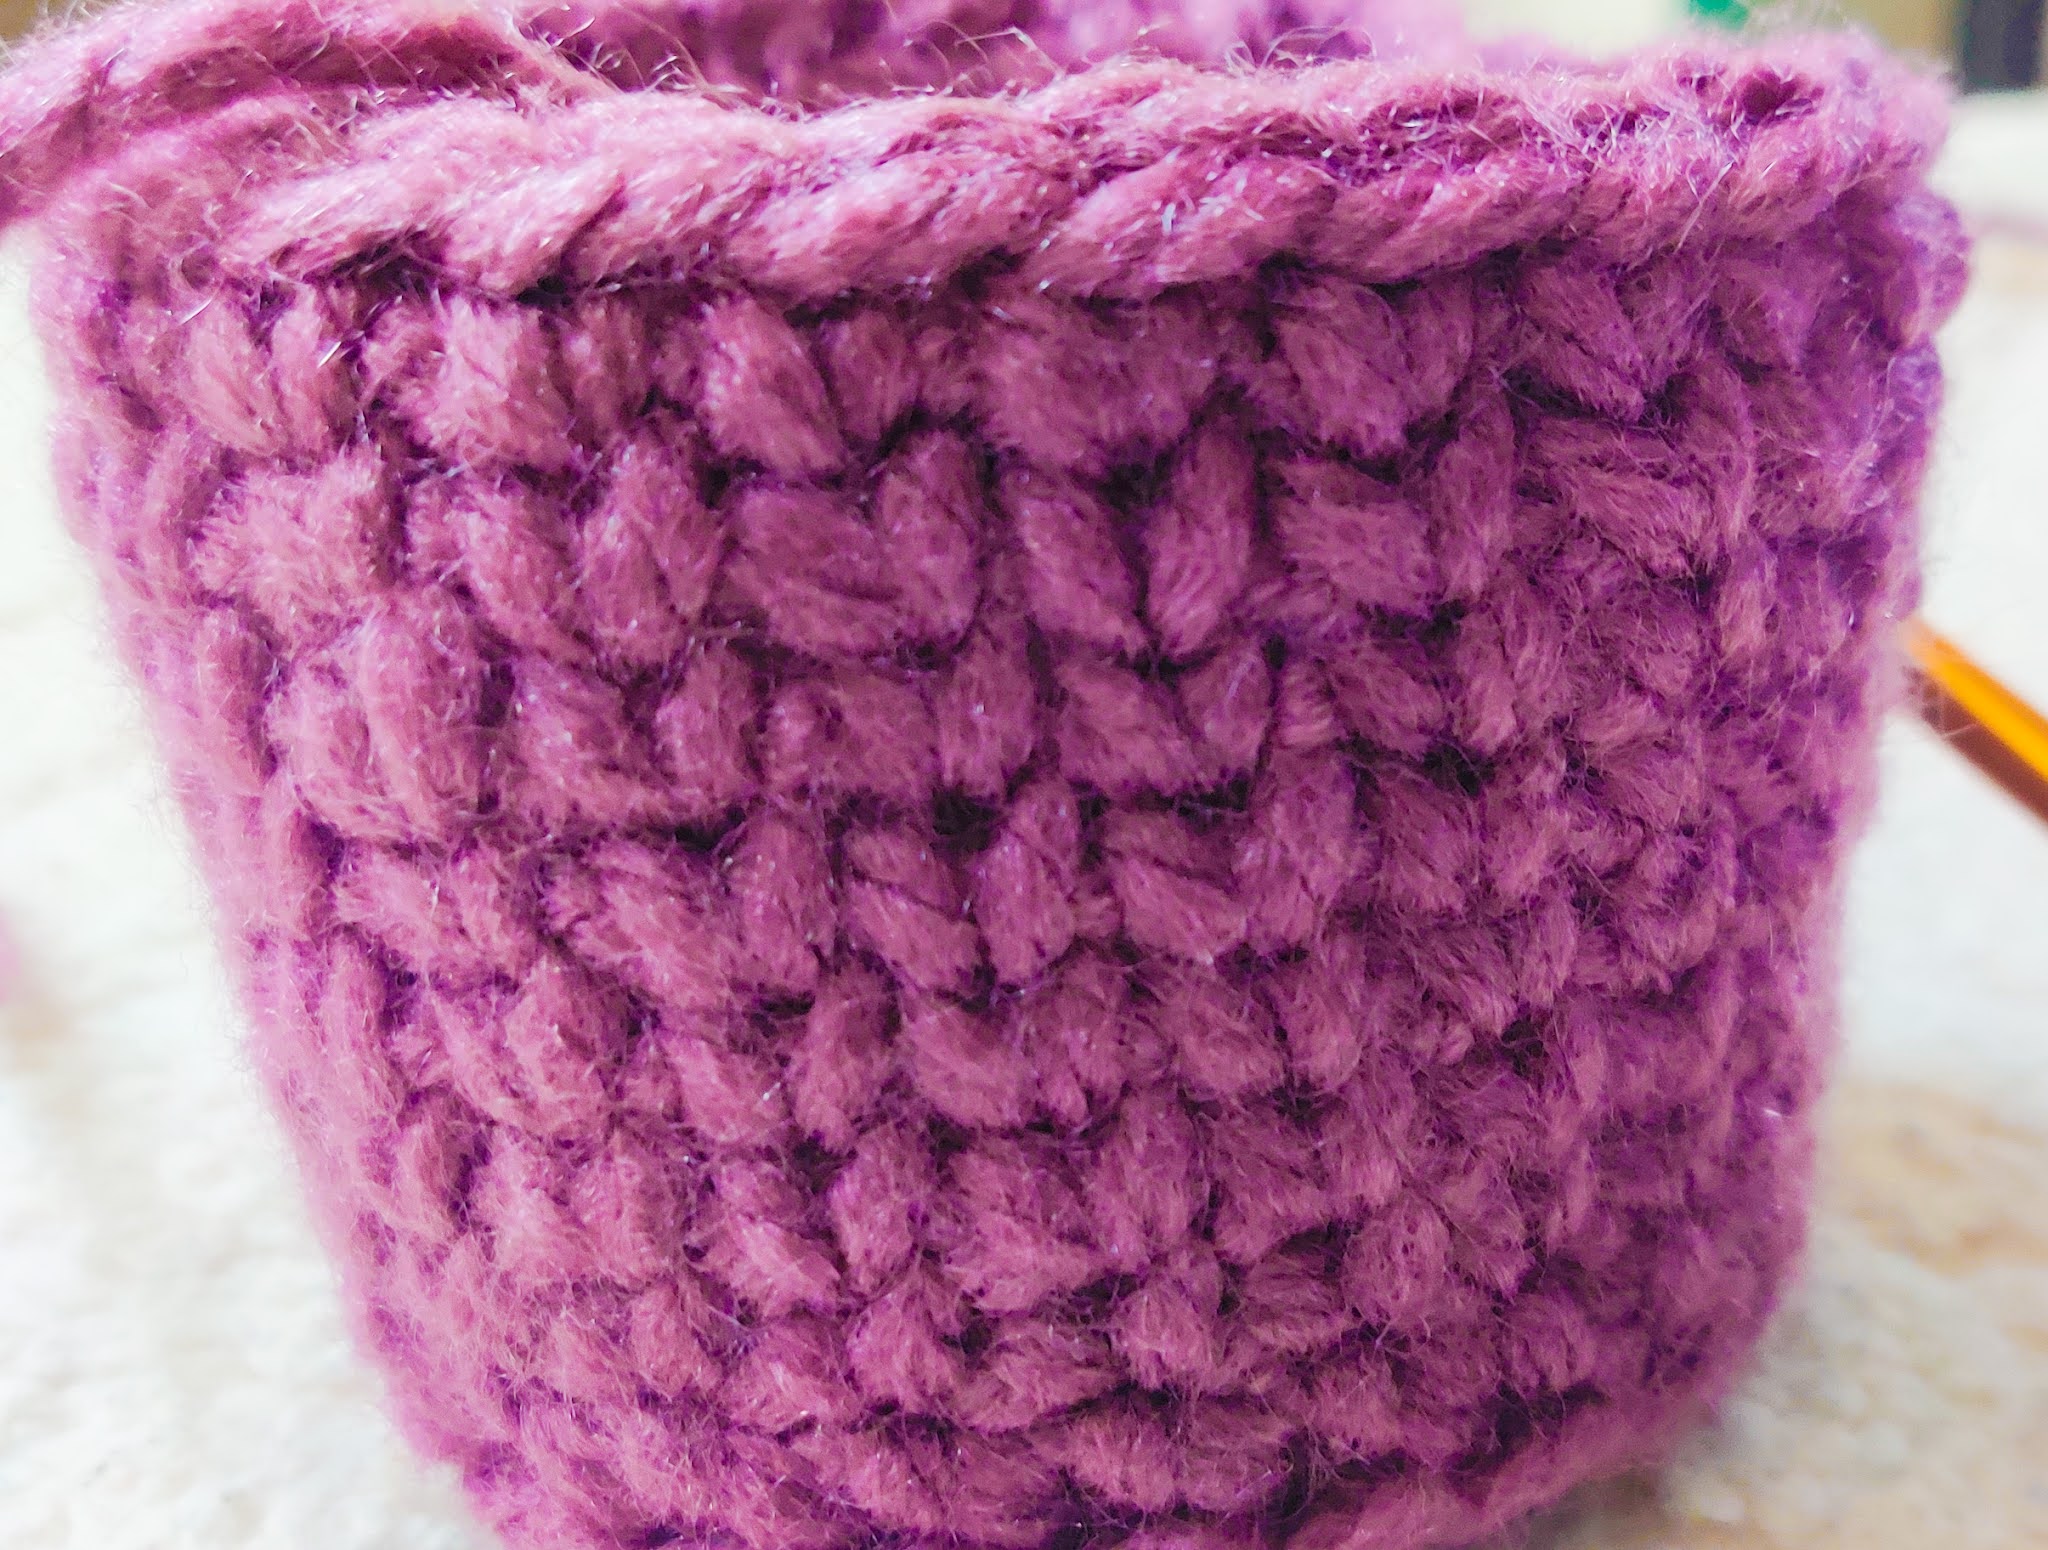
1 Single Crochet in each stitch around untill the size needed.
Make the single crochet in the "V" shape of the stitch. This is called the Waistcoat Single Crochet Stitch.
This creates the pretty knitted look.
Change the yarn color while making the last stitch.


Border:-




Border:-
1 Single Crochet.
1 Long Single Crochet in the next stitch.(instead of inserting the hook in the next stitch, Insert your hook into the stitch which is one row below the current row stitch.)
1 Long Single Crochet in the next stitch.(Insert your hook into the stitch which is Two rows below the current row stitch.)
Repeat(1SC,1 Long SC(in previous round), 1 Long SC( into the stitch before the previous round.)
Slip stitch and weave off.


Pattern Details at a Glance:-
Round 1:-
Start with a Magic Circle.
Chain 2(Not Counted as a St)
12 DCs in the circle.
Pull the yarn end to close the gap.
SL on top of the first DC.
12 Sts.
Round 2:-
Chain 2.
2 DCs in each St around.
SL on top of the first DC.
24 Sts.
Round 3:-
Chain 1(Not Counted as a St)
Start the next St in the same St.
1 Back Loop SC in each St around.
This will create the turning base.
SL on top of the first SC.(Insert your hook in both the loops)
Round 4:-
Chain 1(Not Counted as a St)
Start the next St in the same St.
1 SC in each St around.
Once you reach the end, Do not SL.
We will be working in continuous rounds.
Round 5 Onwards:-
1 SC in each St around untill the size needed.
Make the SC in the "V" shape of the St. This is called the Waistcoat SC St.
This creates the pretty knitted look.
Change the yarn color while making the last St.
Border:-
1 SC.
1 Long SC in the next St.(instead of inserting the hook in the next St, Insert your hook into the St which is one row below the current row St.)
1 Long SC in the next St.(Insert your hook into the St which is Two rows below the current row St.)
Repeat(1SC,1 Long SC(in previous round), 1 Long SC( into the St before the previous round.)
SL and weave off.
*********


Very cute! Looks easy enough to tackle. Trying to branch out from just making amigurumi animals :) Thank you.
ReplyDeletethank u so much😊
Delete